
By Hank Tassitano
Photos by Hank Tassitano
It seems like most hunters have trail cameras set-up on their private property or leased hunting property to see the wildlife activity in the area. While it is exciting to check the cameras to see what footage has been captured, the results can be mixed.
Here are a few tips to help ensure you get the best photos and videos from your trail cameras.
Setting up a Trail Camera
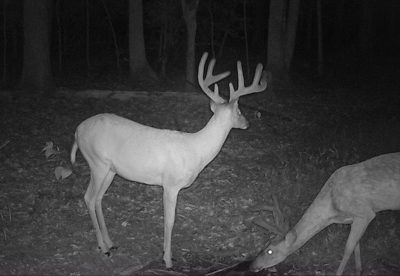
Setting your camera high on a tree at a downward angle will give you a different perspective for your photos and will also make mature deer less nervous when the camera goes off.
When setting up a trail camera, you need to think about how and where to face the camera. Sunlight can be the biggest problem when trying to capture high-quality photos. Positioning the camera to face north will help, but that’s not always an option depending on what you are trying to monitor. If the camera is facing east or west, see if it’s possible for the camera to be shaded by overhanging branches. If you do that, make sure the branches are clear of the lens and sensor so it doesn’t trigger the camera to take a photo when the wind blows the branches or leaves.
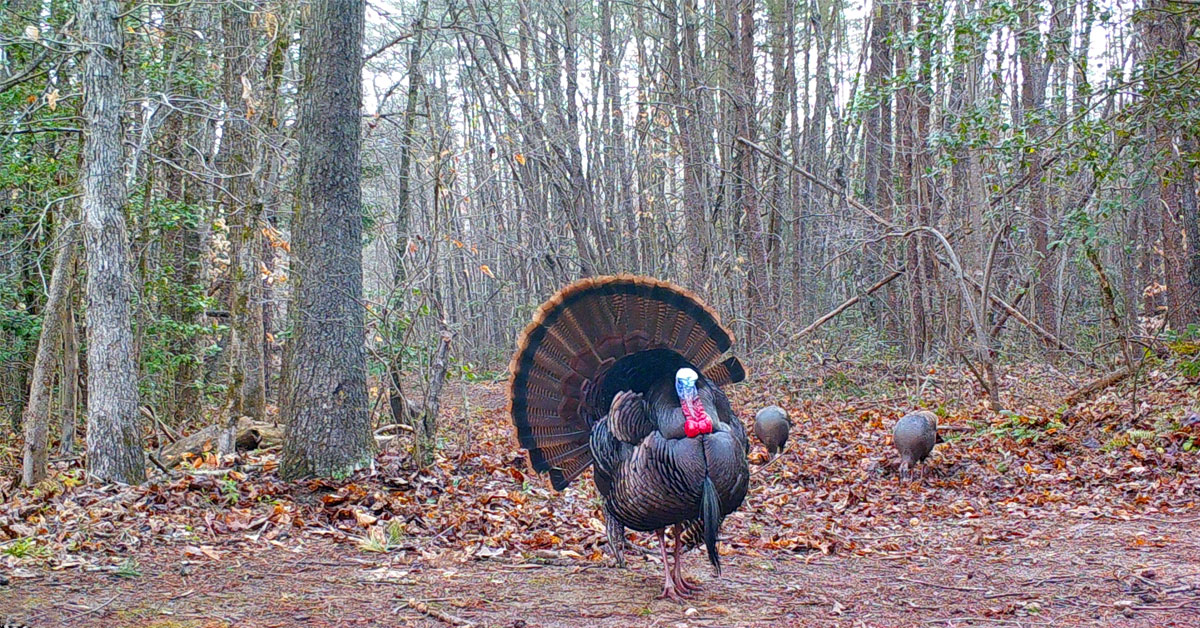
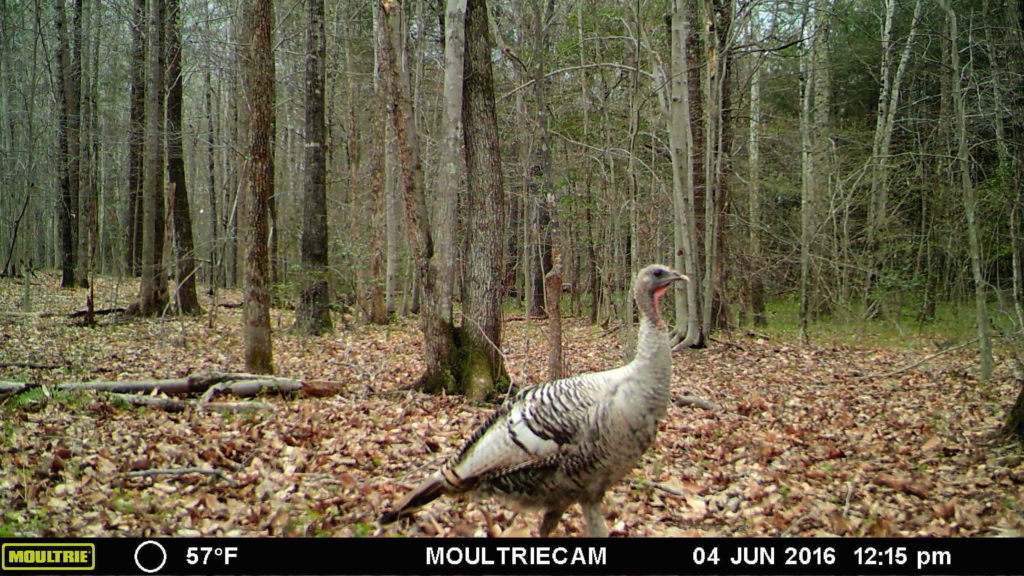
When setting up a trail camera, you’ll also want to consider what you are trying to capture photos of—deer, turkey, predators, or other game—then set the camera height accordingly.
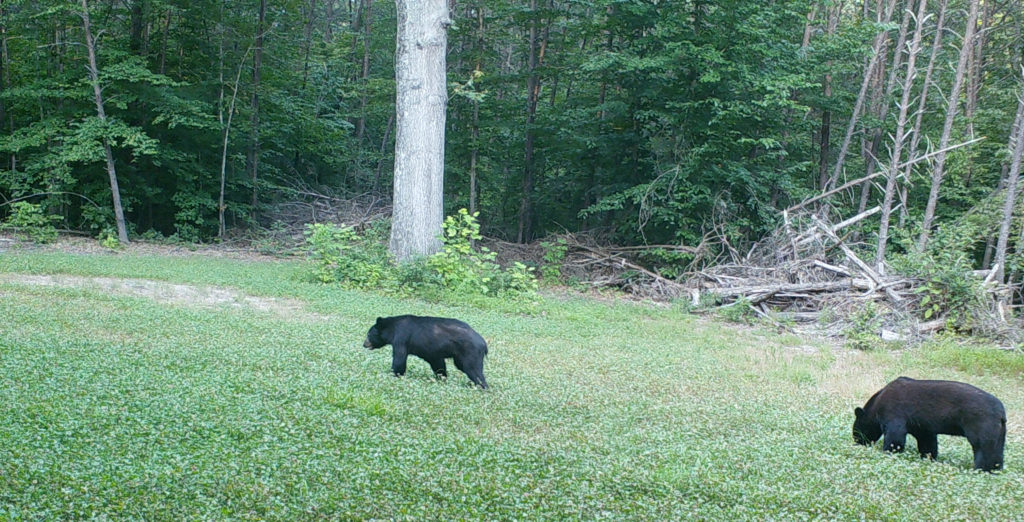
For deer and bear, set them a little lower than waist high—for turkey, around knee high. The right height will allow you to get the whole animal in the photos verses just part of them. You can set cameras high on a tree and face it at a downward angle to get a different perspective for you photos, too. This will also avoid making mature deer nervous when the camera goes off.
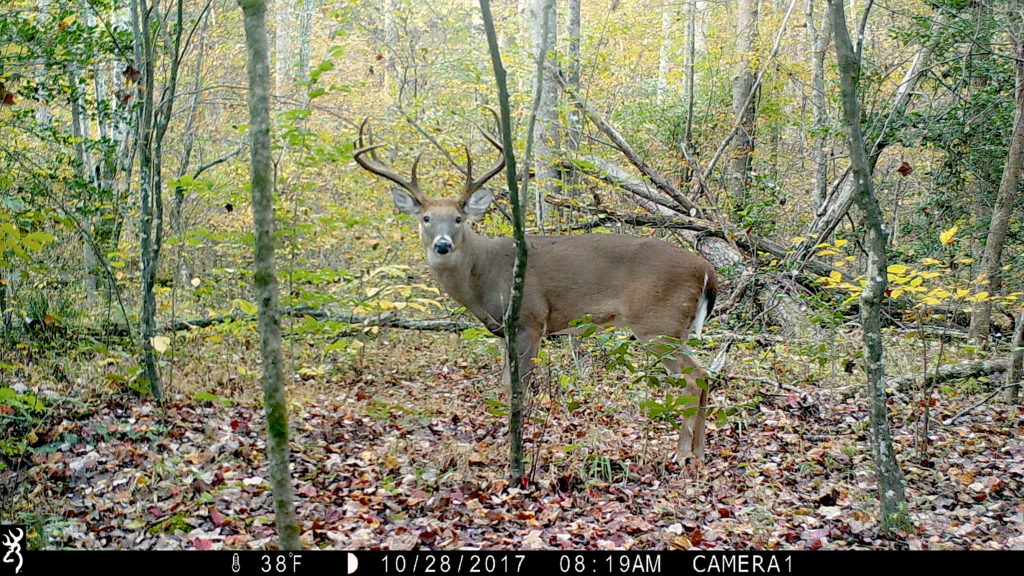
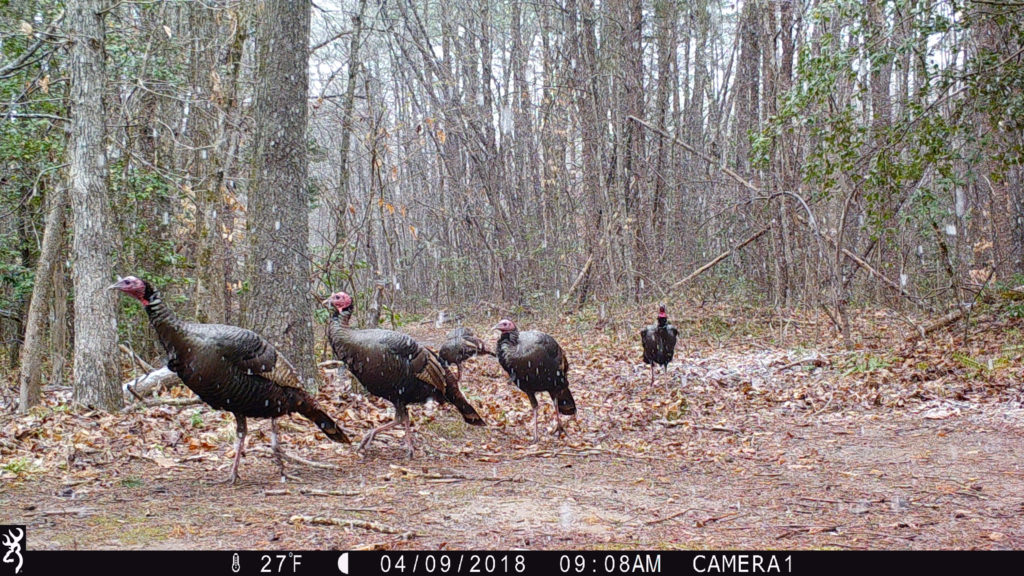
If you want to get interesting and unusual photos, set-up a camera on a logging road or game trail where deer or turkey like to walk to get a close up photo or video.
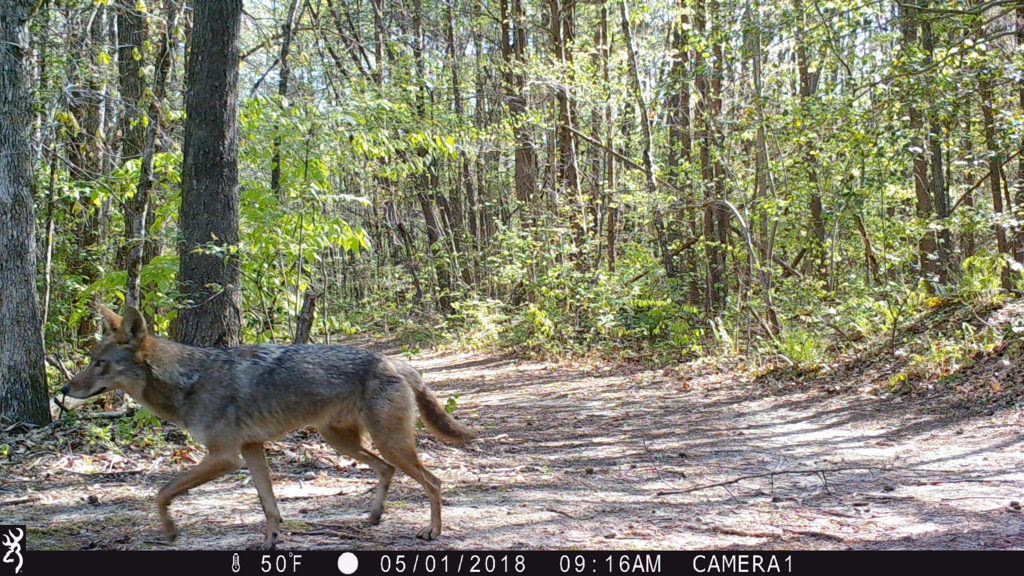
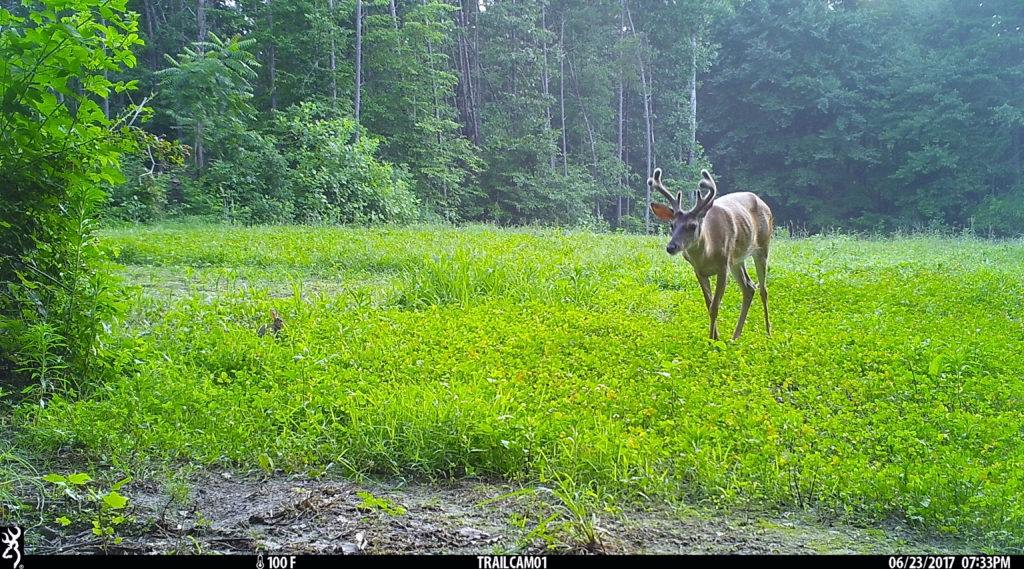
Good places to set-up cameras are on game trails that take wildlife to a food source and over food sources, like crop fields, oak ridges when there is hard-mast from trees, food plots, fruit trees, or other natural browse.
If the food source is a large area, you should consider using several cameras to monitor them or you will miss a lot of activity. It’s surprising what two cameras will capture verses one in the same area. I have checked my cameras in the same small food plot and would have deer on one and not the other. Plus, this will give you the opportunity to set one camera on photo mode and the other on video mode.
Checking a Trail Camera
To determine how often you should check your cameras, you need to consider the time of the year—cold weather drains batteries faster than warm weather. You’ll also need to think about how accessible the camera is without disturbing the area with a lot of human scent. If you are monitoring crop fields or food plots, you’ll want the camera to be on the edges of these locations so they are easier to check more frequently.
 If the camera is tucked back in the woods, I would recommend checking them every couple of weeks so there is less human scent disturbing the area. This is where the cell cameras really show their worth because they are designed to send the photos to your cell phone as well as be saved to memory card. This feature will allow you to see what is going on at all times with no disturbance to the area where your camera is set up.
Archiving Footage
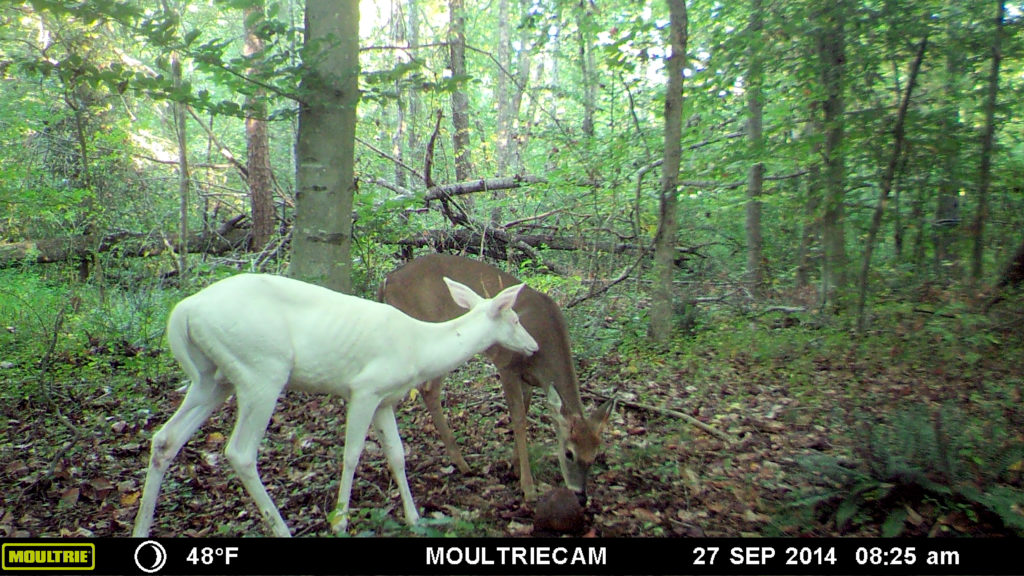
Setting up a good archiving system is necessary for the photos and video clips that are saved. Otherwise, you will have a difficult time trying to find a particular photo you might need to use for monitoring particular animals, for a social media post, or a photo contest. Plus, it’s fun to look back over several years of photos to see all of the wildlife that has been captured.

It’s ideal to have extra memory cards for your cameras, and mark what camera they are for so you are able to keep the correct memory cards with the right cameras. It’s also a good idea to have batteries with you when checking cameras. It’s never fun to see that a camera needs new batteries when you don’t have any with you.
Conclusion
These are just some of the basic tips for trail camera usage. As time goes on, you will learn how to get the best photos or video by just looking at the images you are capturing and making adjustments to your camera position to improve your images.
This is a great reason to spend more time in the outdoors all year long, and it gives you something to share with friends and family!

Don’t forget: You can enter your trail camera photos to the Virginia Wildlife Photo Showcase!
