
Congratulations on picking up one of DWR’s Virginia Native Pollinator seed packets! This custom seed mix is made up of wildflowers native to Virginia. These flowers are beautiful and provide great benefits for Virginia’s pollinators and other wildlife species.
 Native plants are the cornerstone of any backyard habitat. These wildflowers will provide nectar and pollen for butterflies and bees and other native insects. Songbirds will feed caterpillars to their young and feast on the seeds these plants produce. You will be “Restoring the Wild” in your own backyard!
What’s In Your Packet?
The information below pertains to the seed packet mix available as of 2025. Please see the 2023 seed mix page or the 2024 seed mix page for information about those packets.
This seed packet contains eight native Virginia wildflowers species that support pollinators and other wildlife like songbirds. Properly established and maintained they will provide you with years of enjoyment. The annuals in your seed mix will establish fairly quickly, while the perennial plants may take a few years to really get established. Some species will do better than others in different locations…each habitat will be unique!
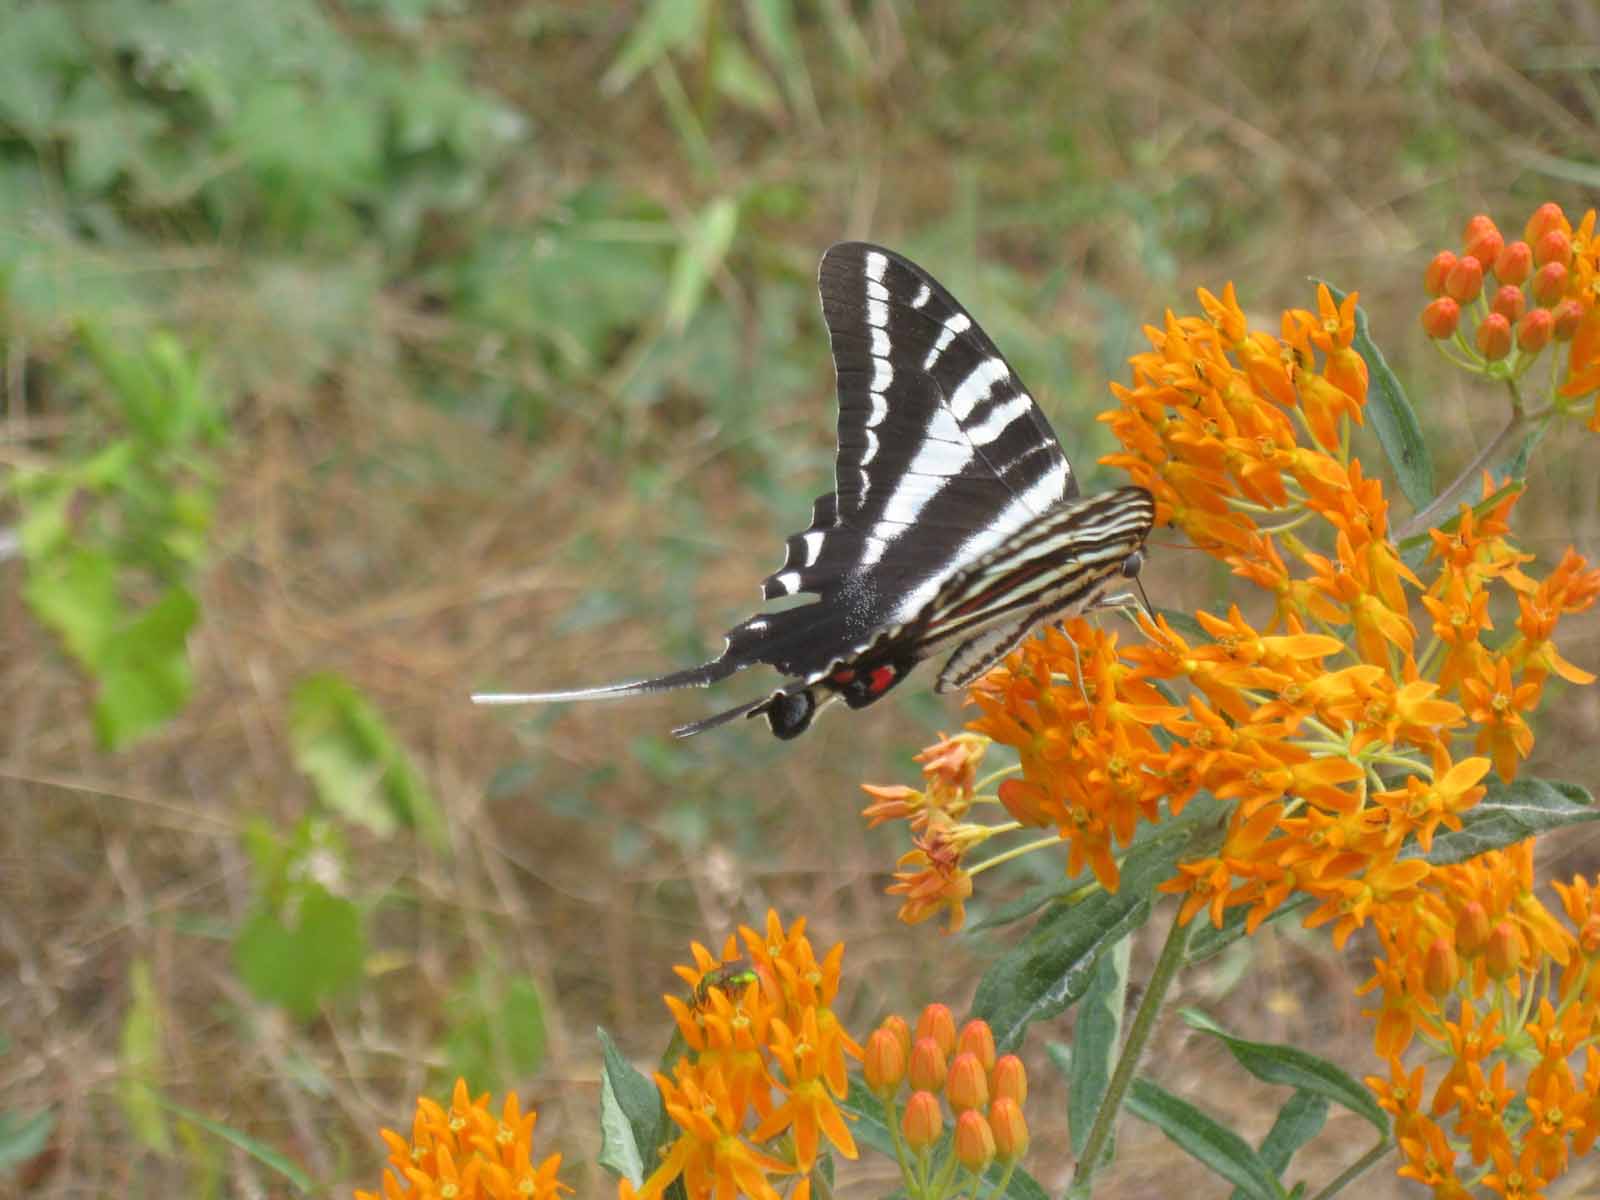
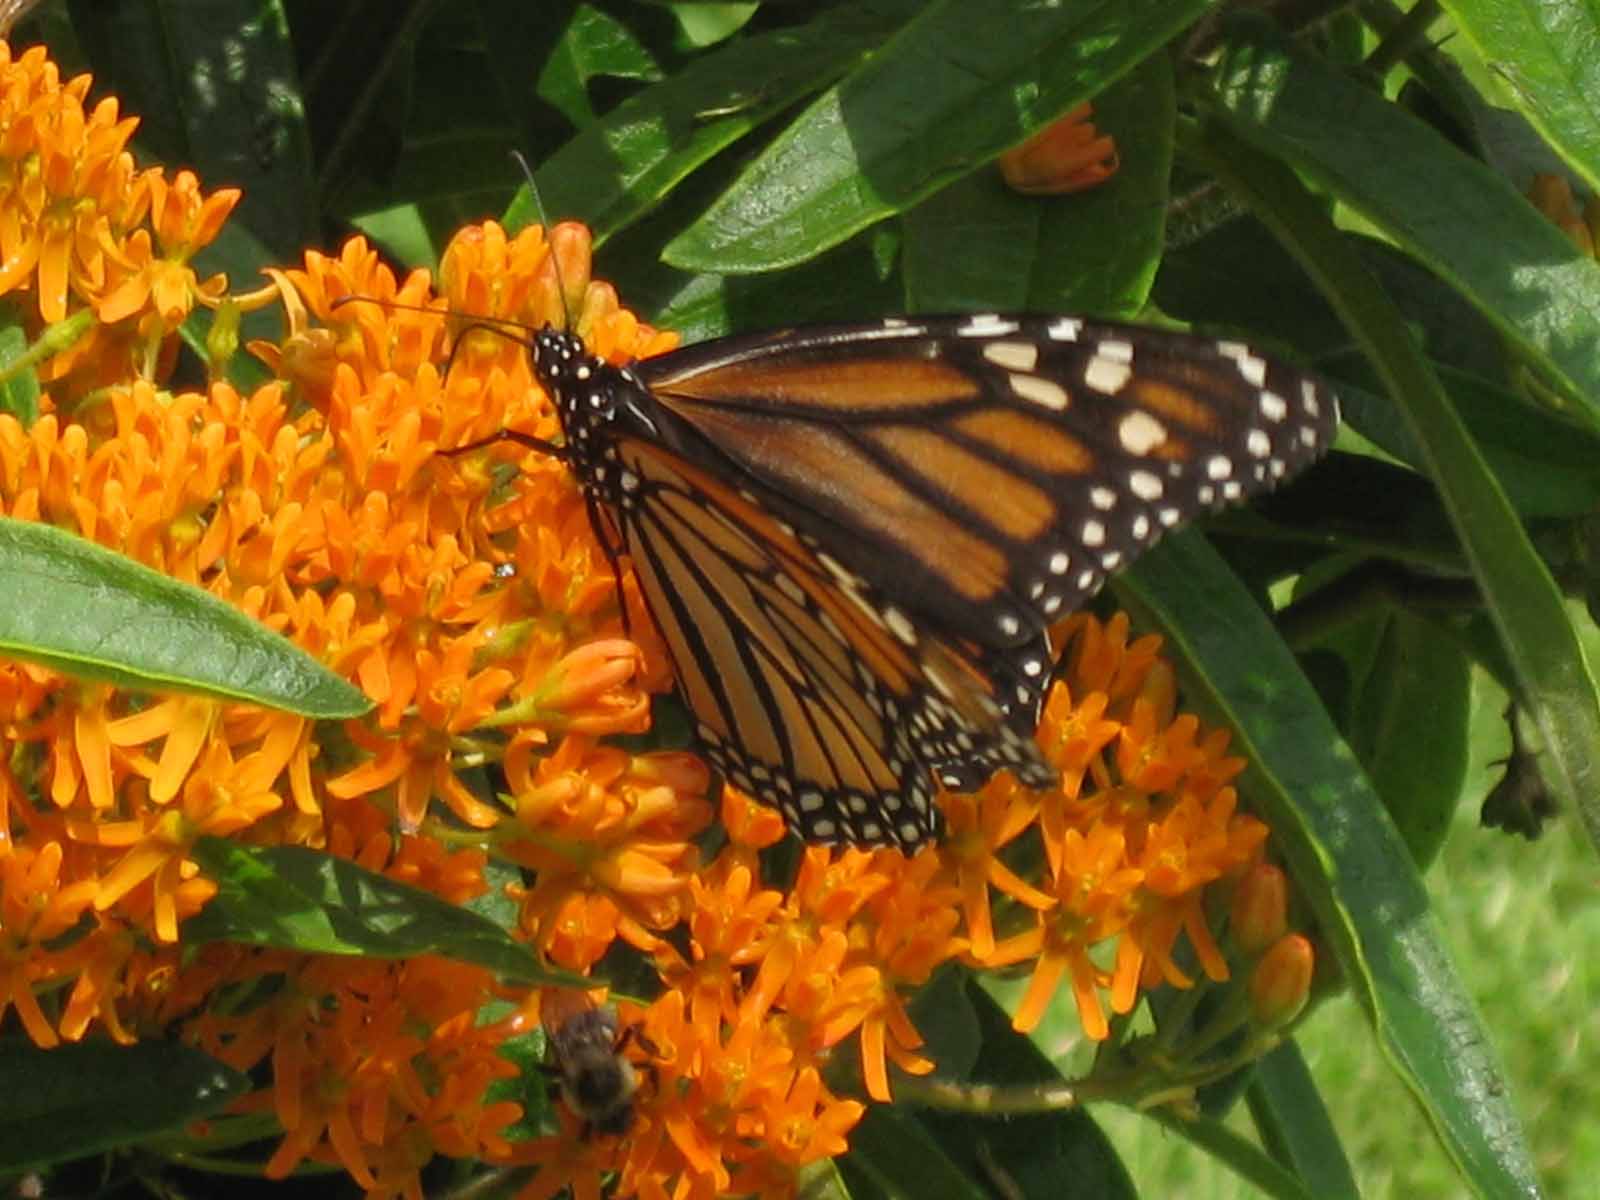
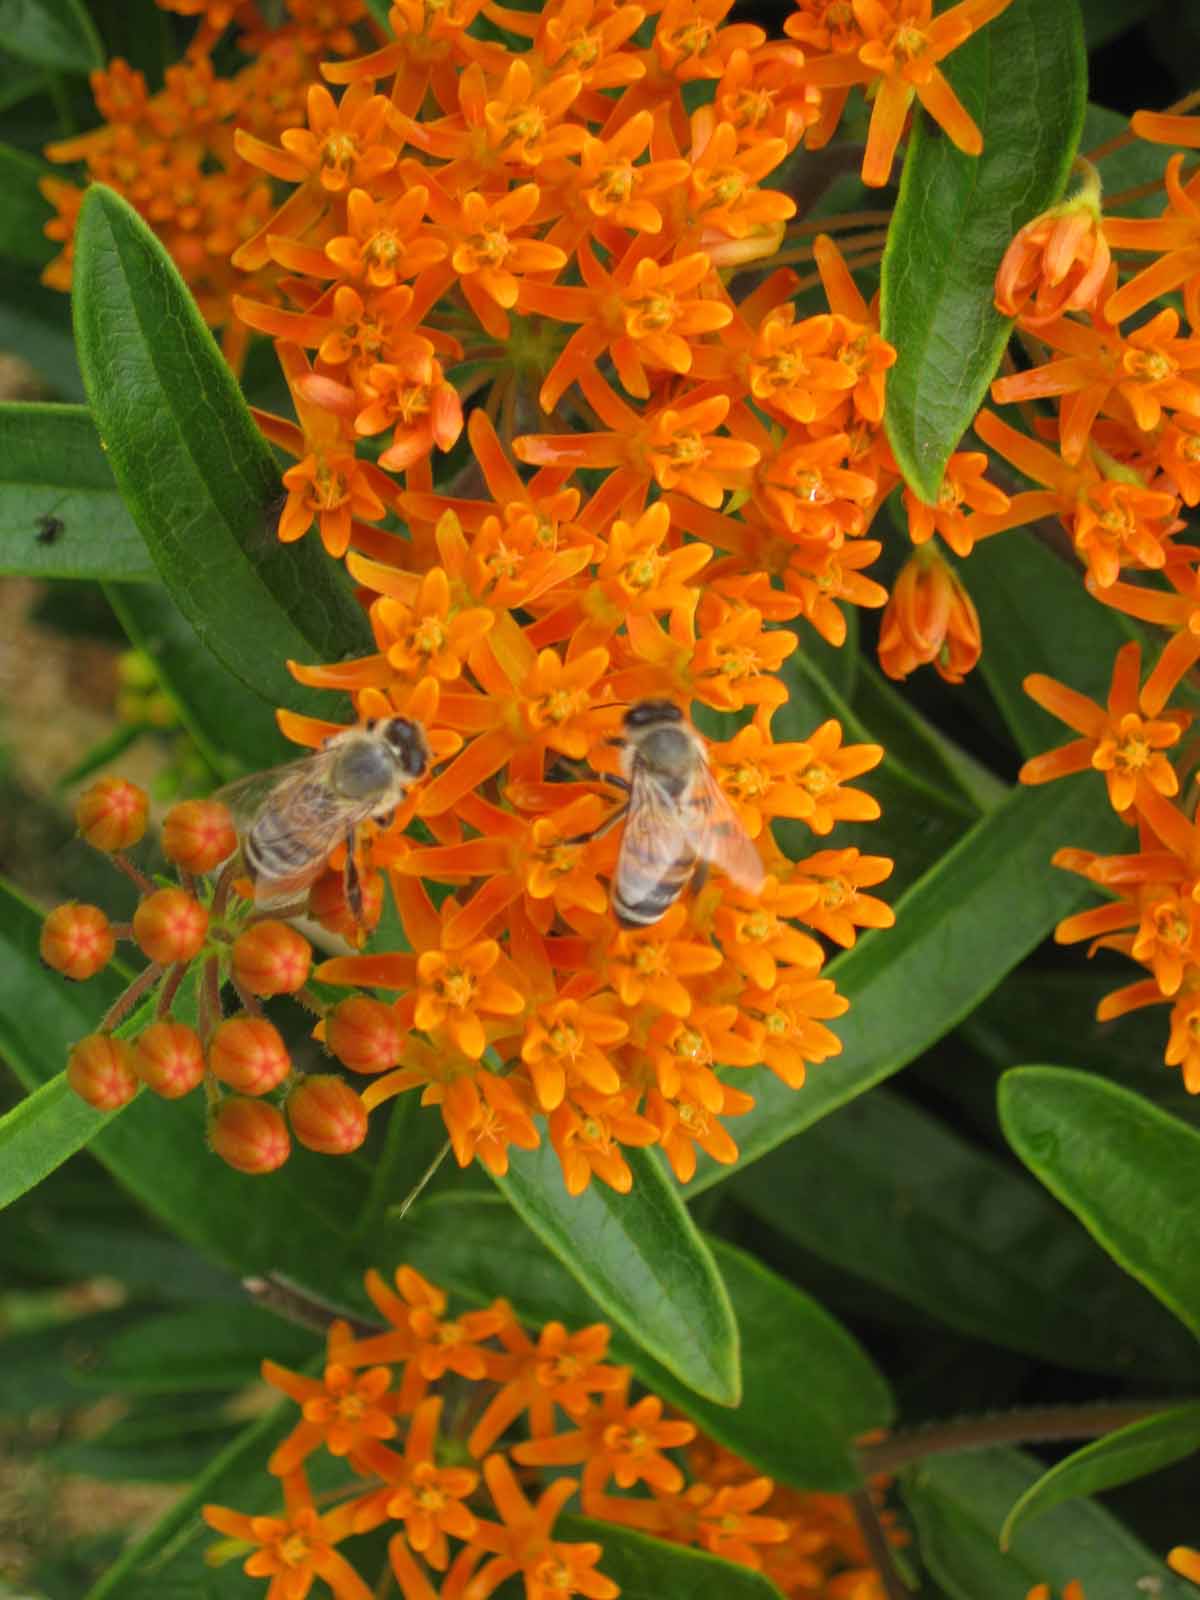
Butterflyweed (Asclepias tuberosa)
- Perennial
- 2 feet high
- Host plant for monarch butterflies
- Bloom April–September


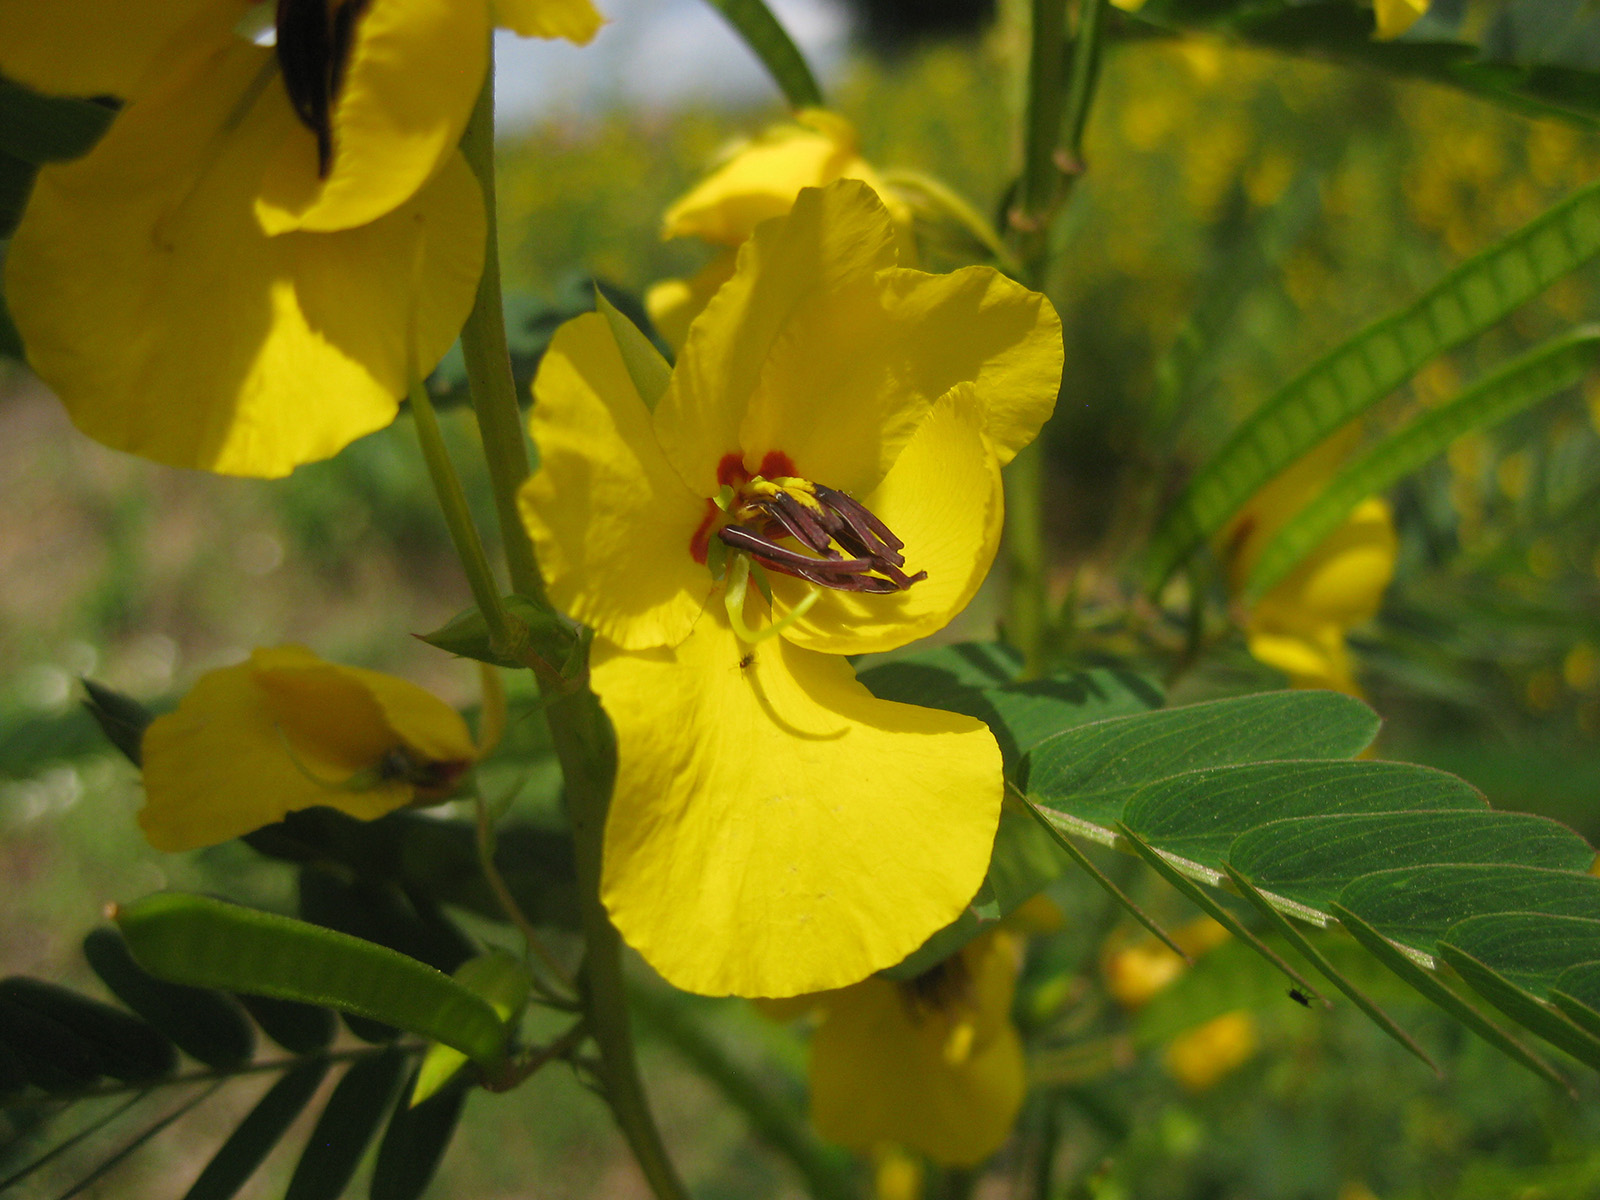
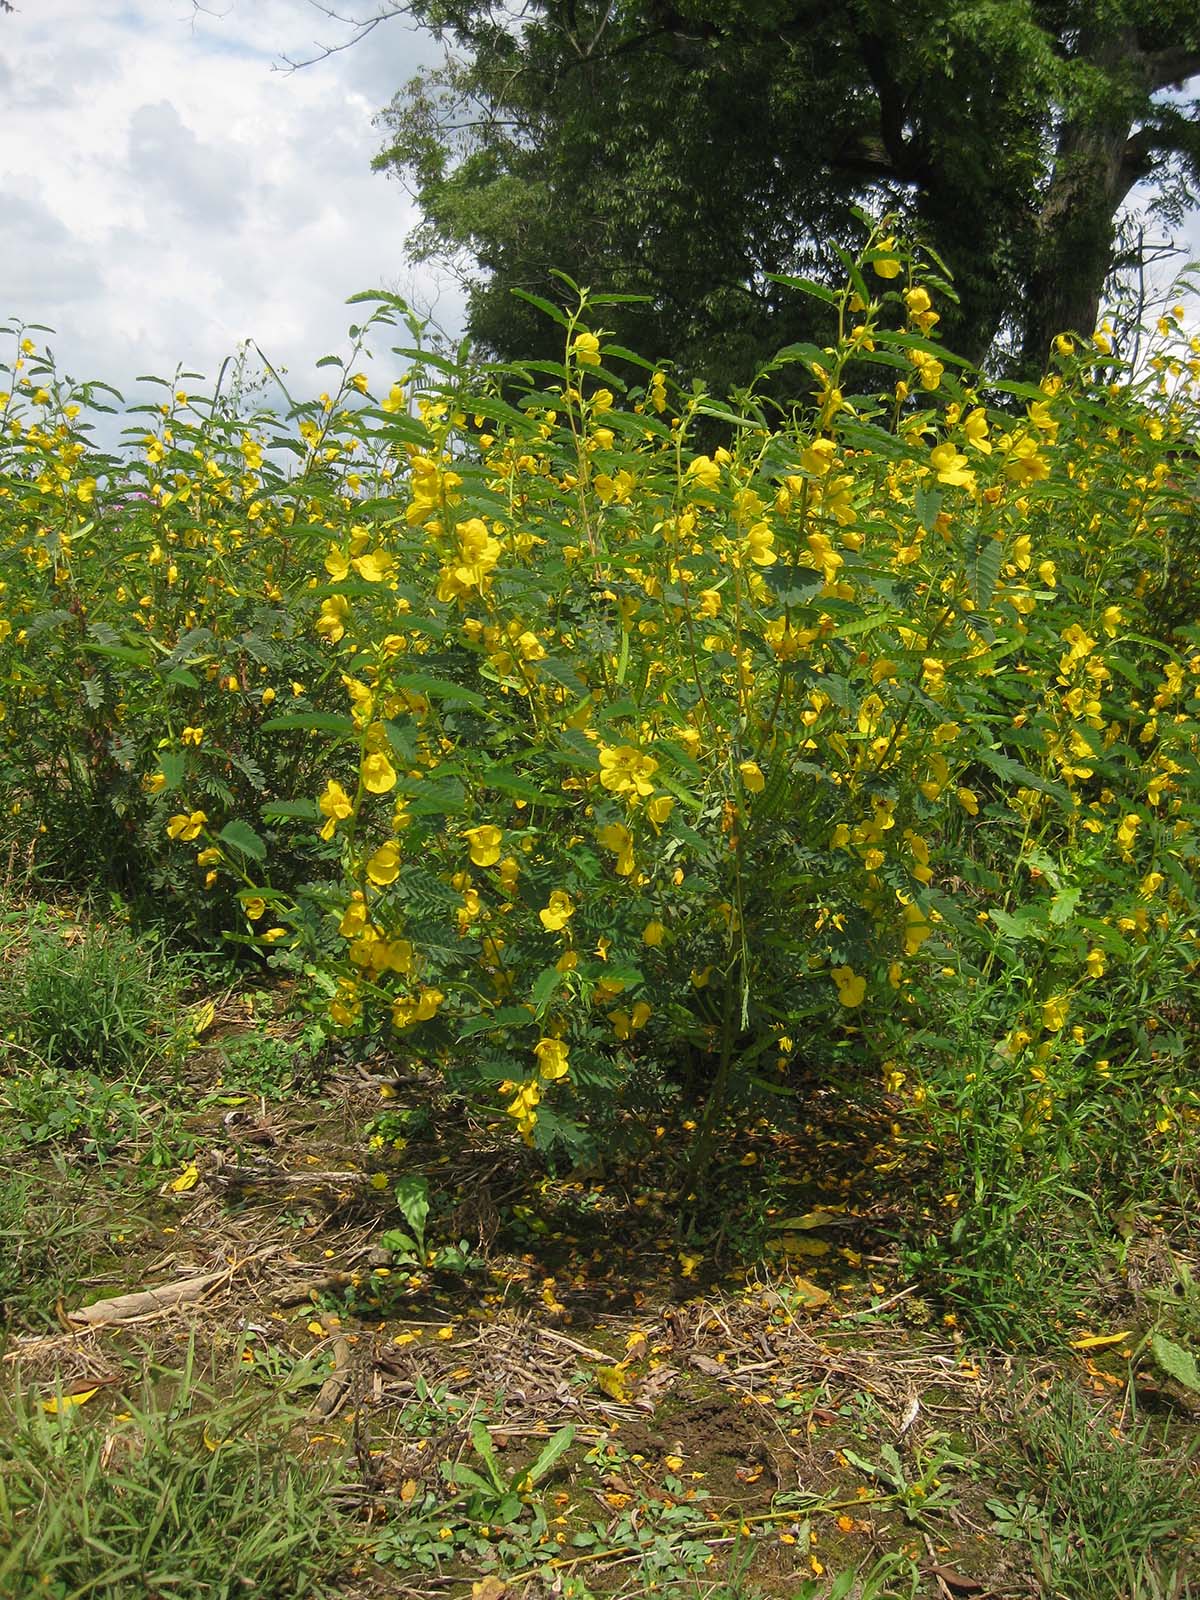
Partridge Pea (Chaemecrista fasciculata)
- Annual that readily reseeds
- 1–3 feet high
- Host plants for sulphur butterflies
- Seeds attractive to birds
- Blooms June–October
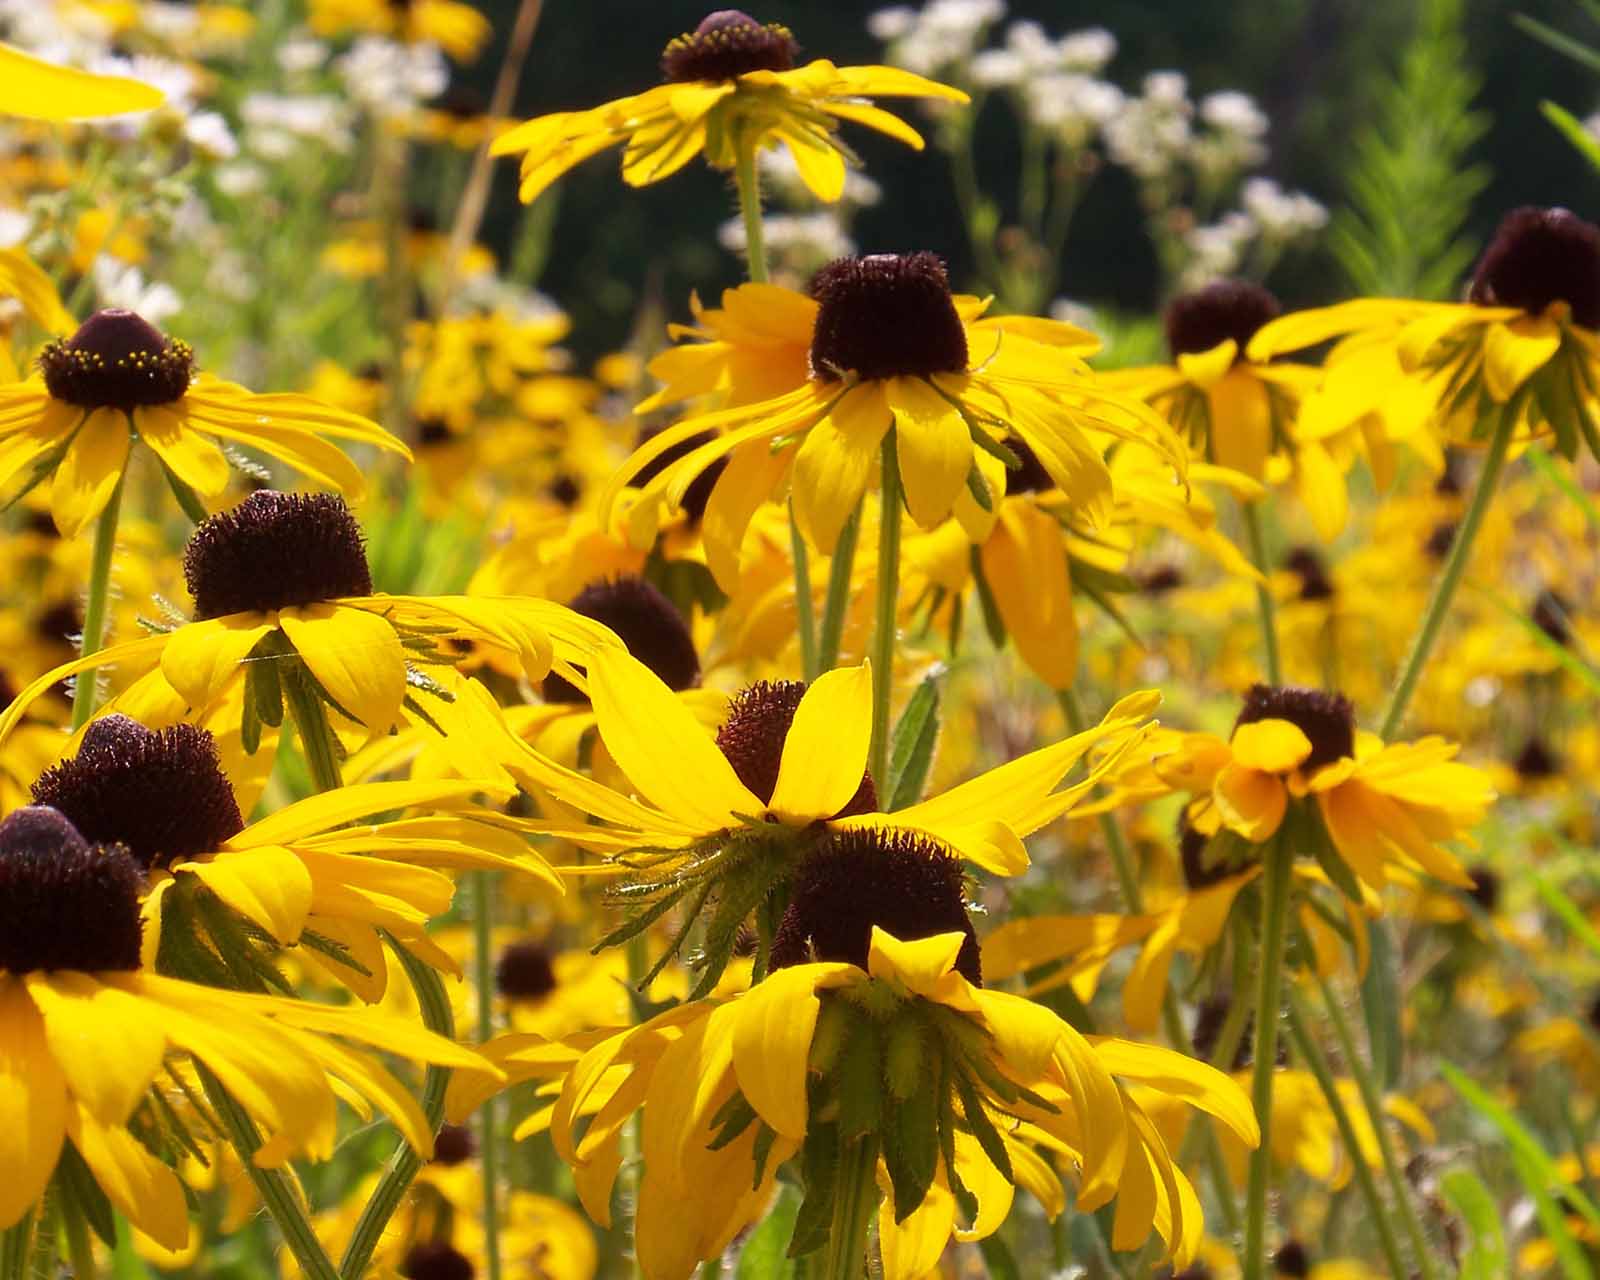
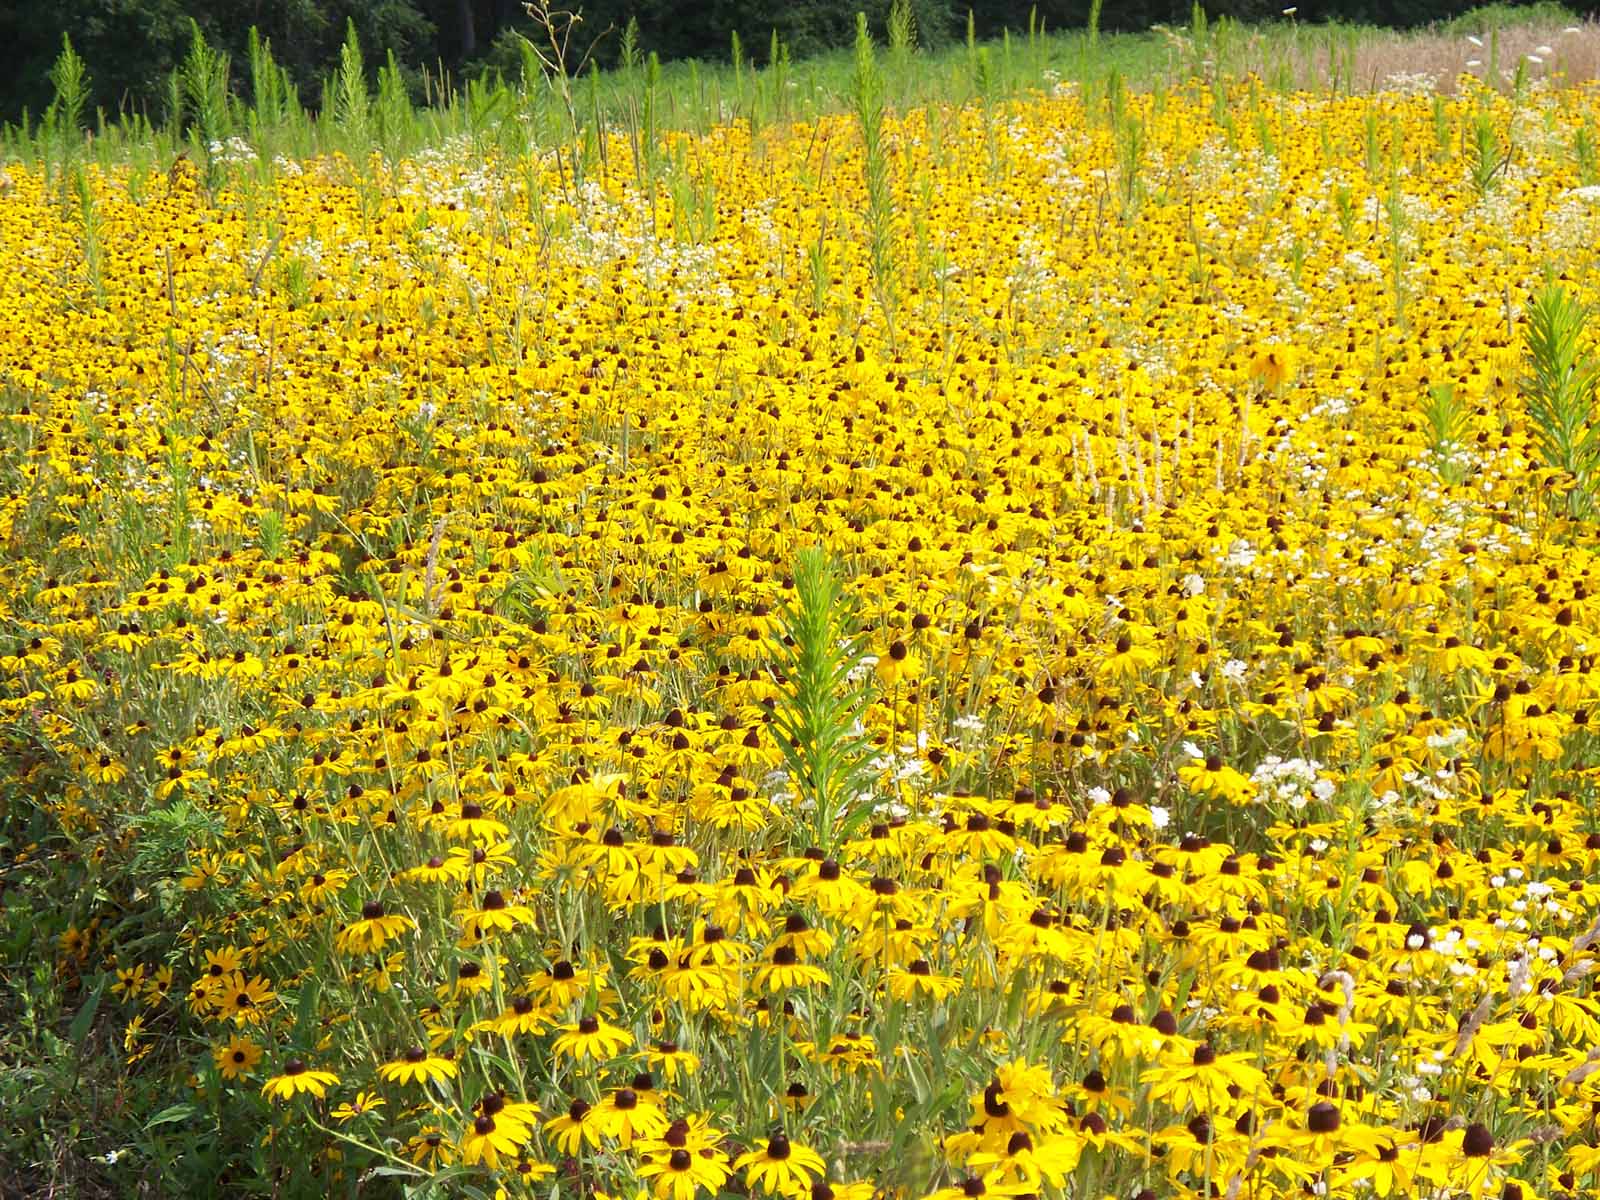
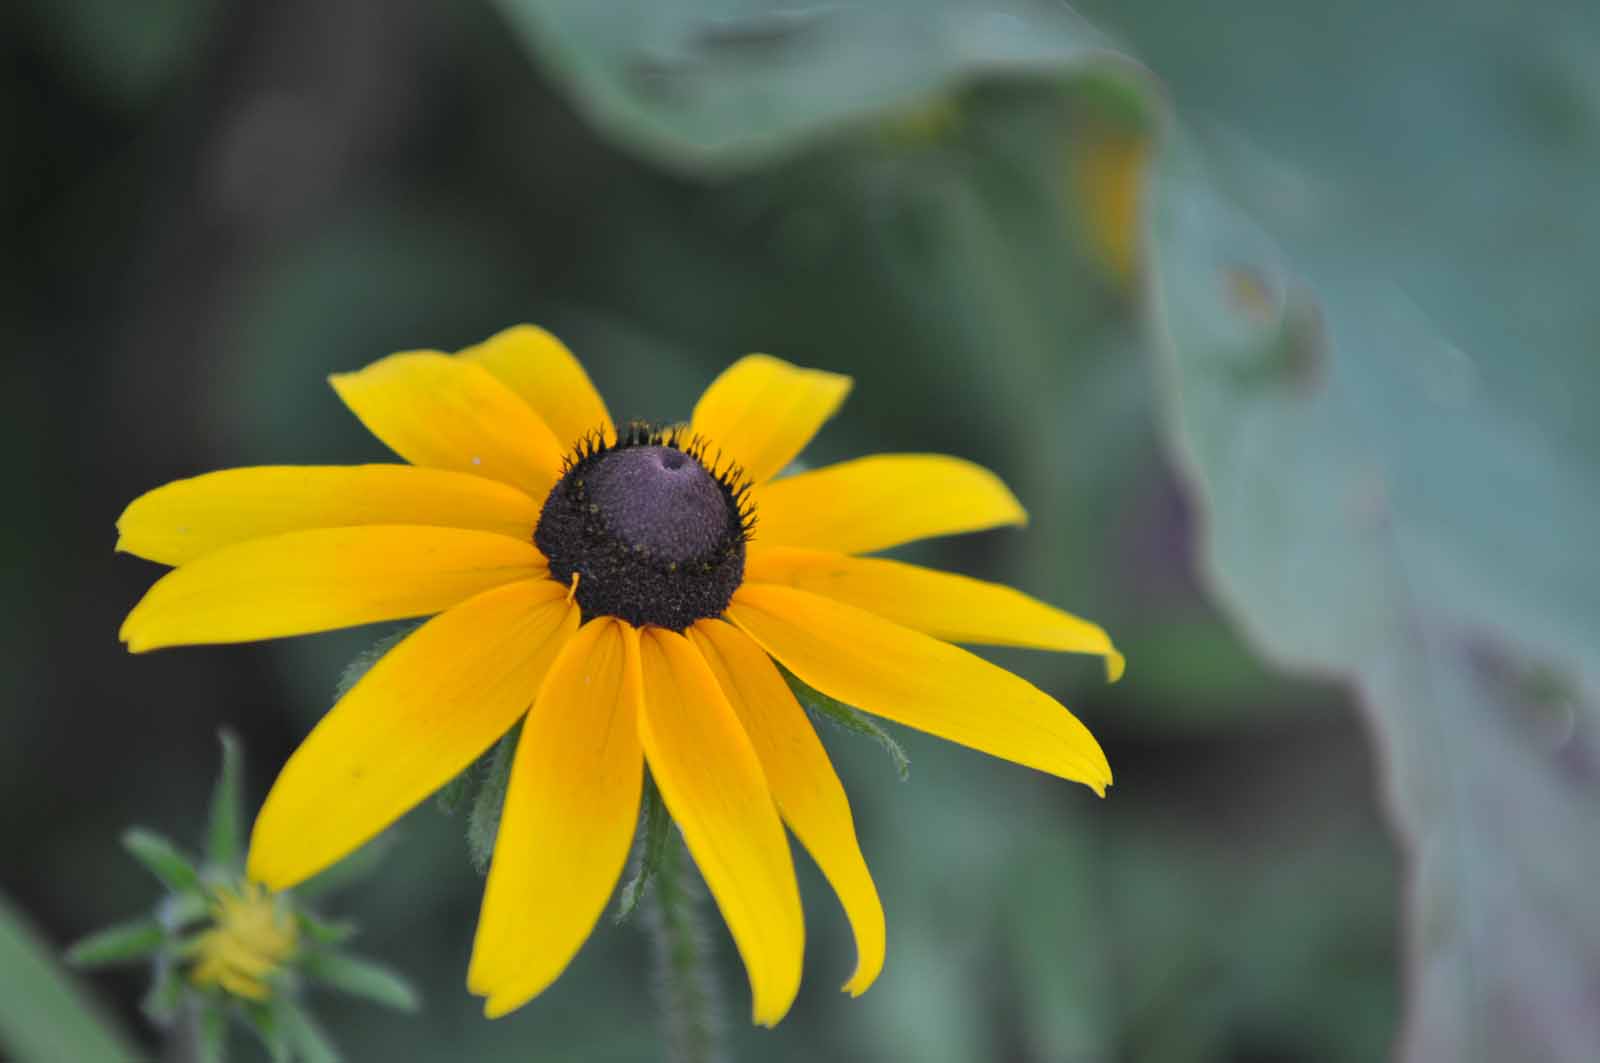
Orange Coneflower (Rudbeckia fulgida)
- Perennial
- 2–3 feet high
- Seeds attractive to birds—especially American goldfinch
- Blooms June–October
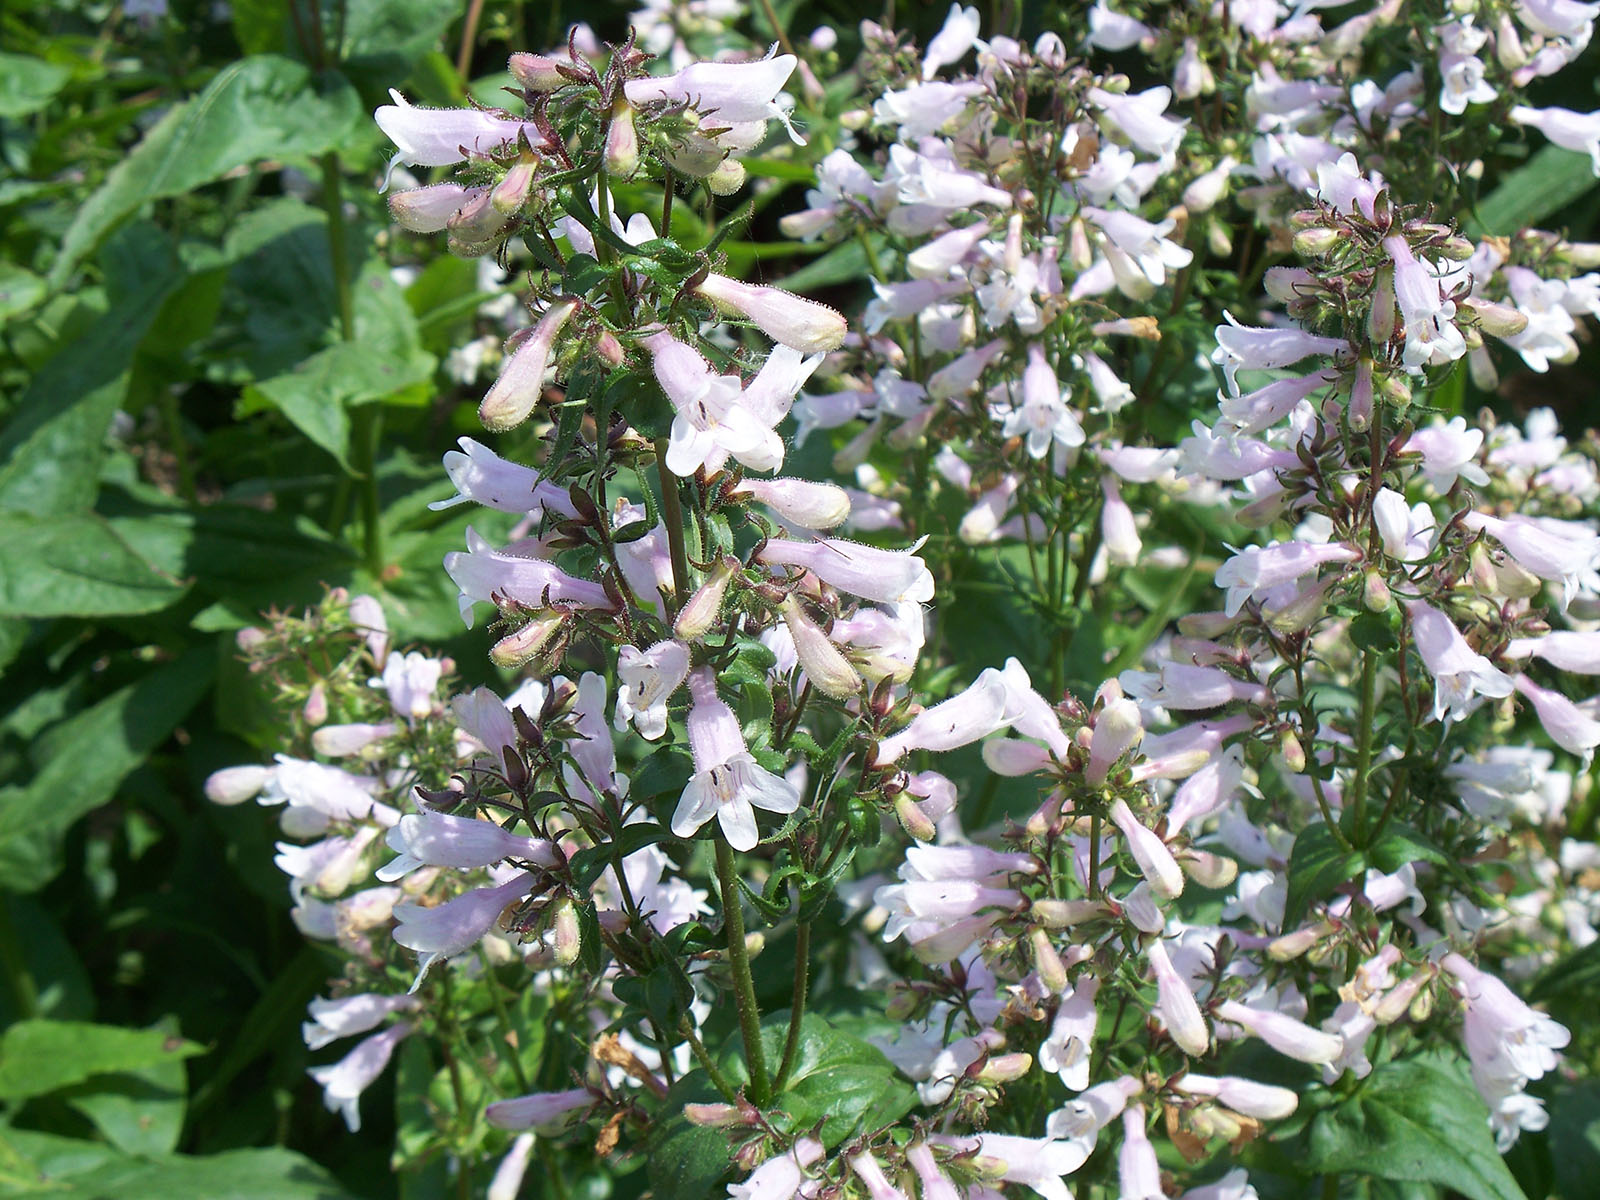
Appalachian Beardtongue (Penstemon laevigatus)
- 3 feet high
- A favorite of native bees
- Blooms May-July

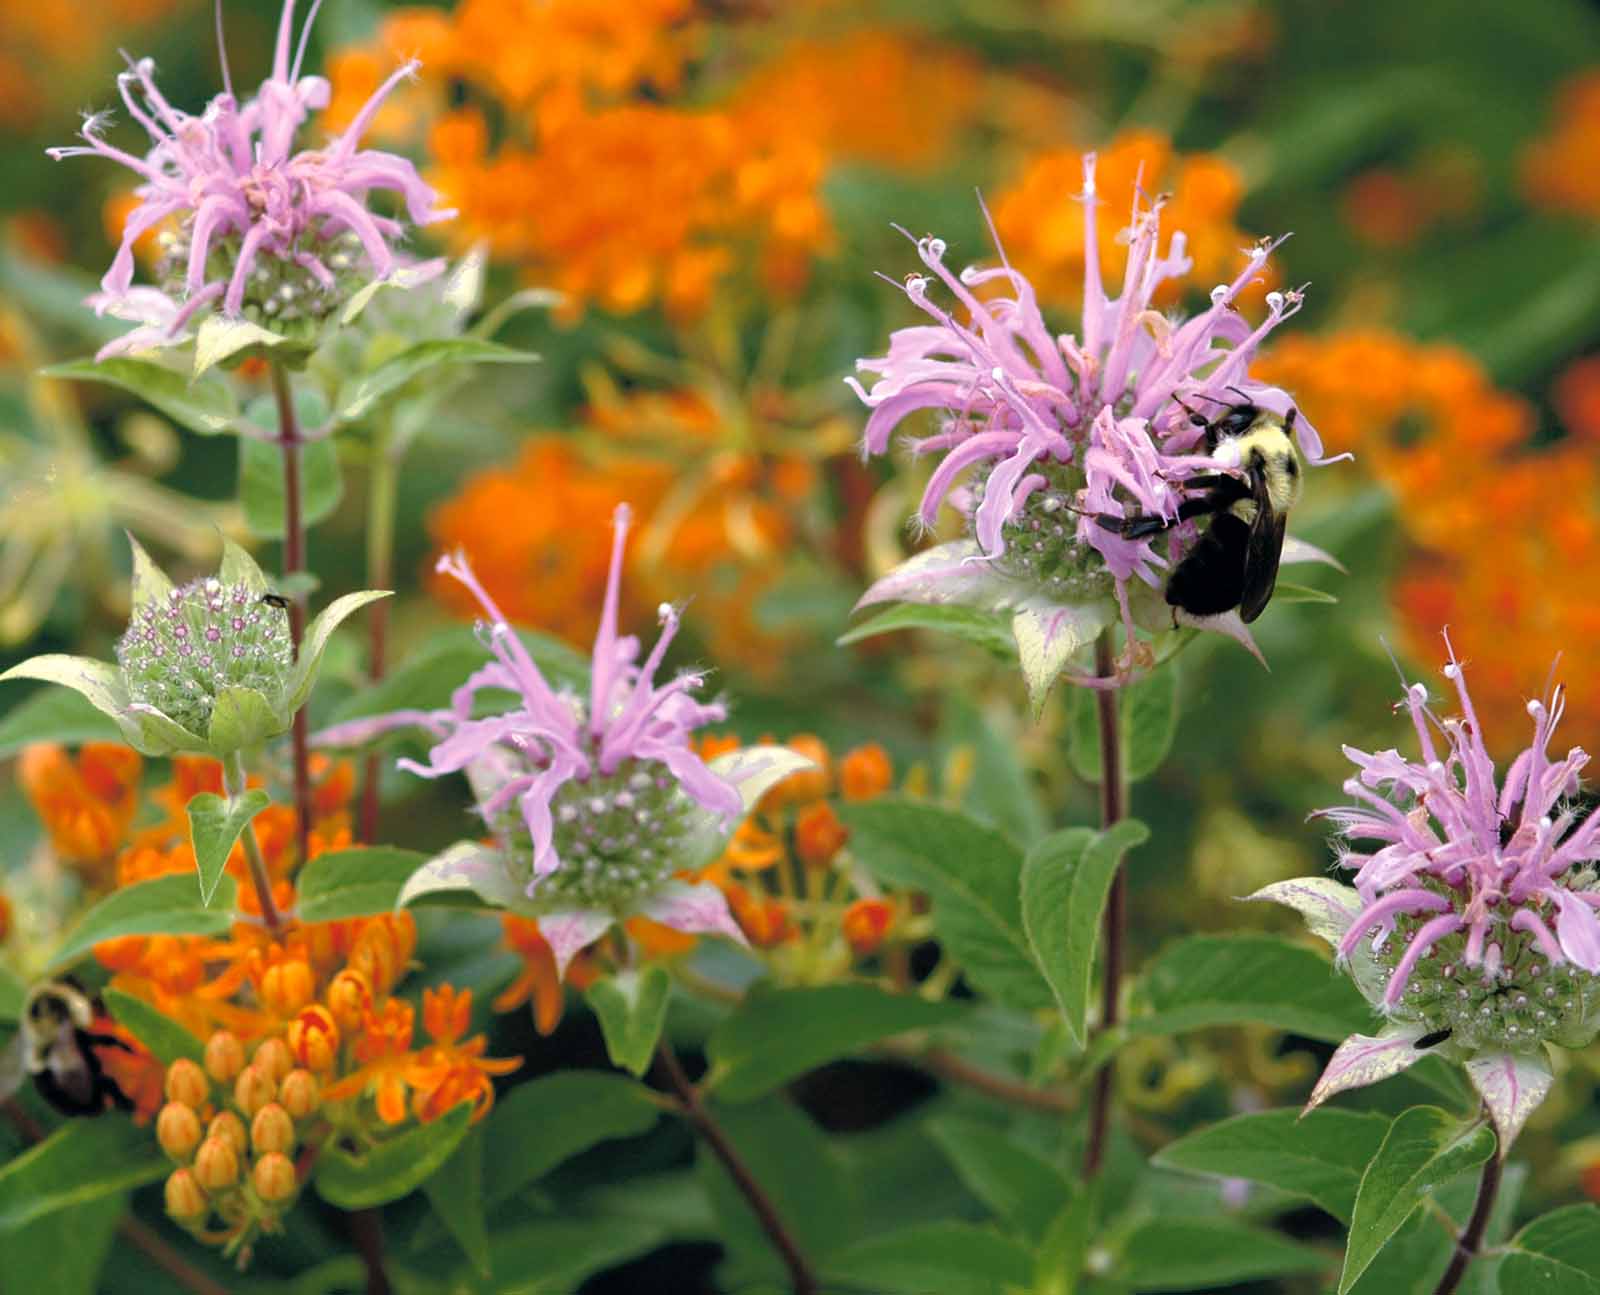
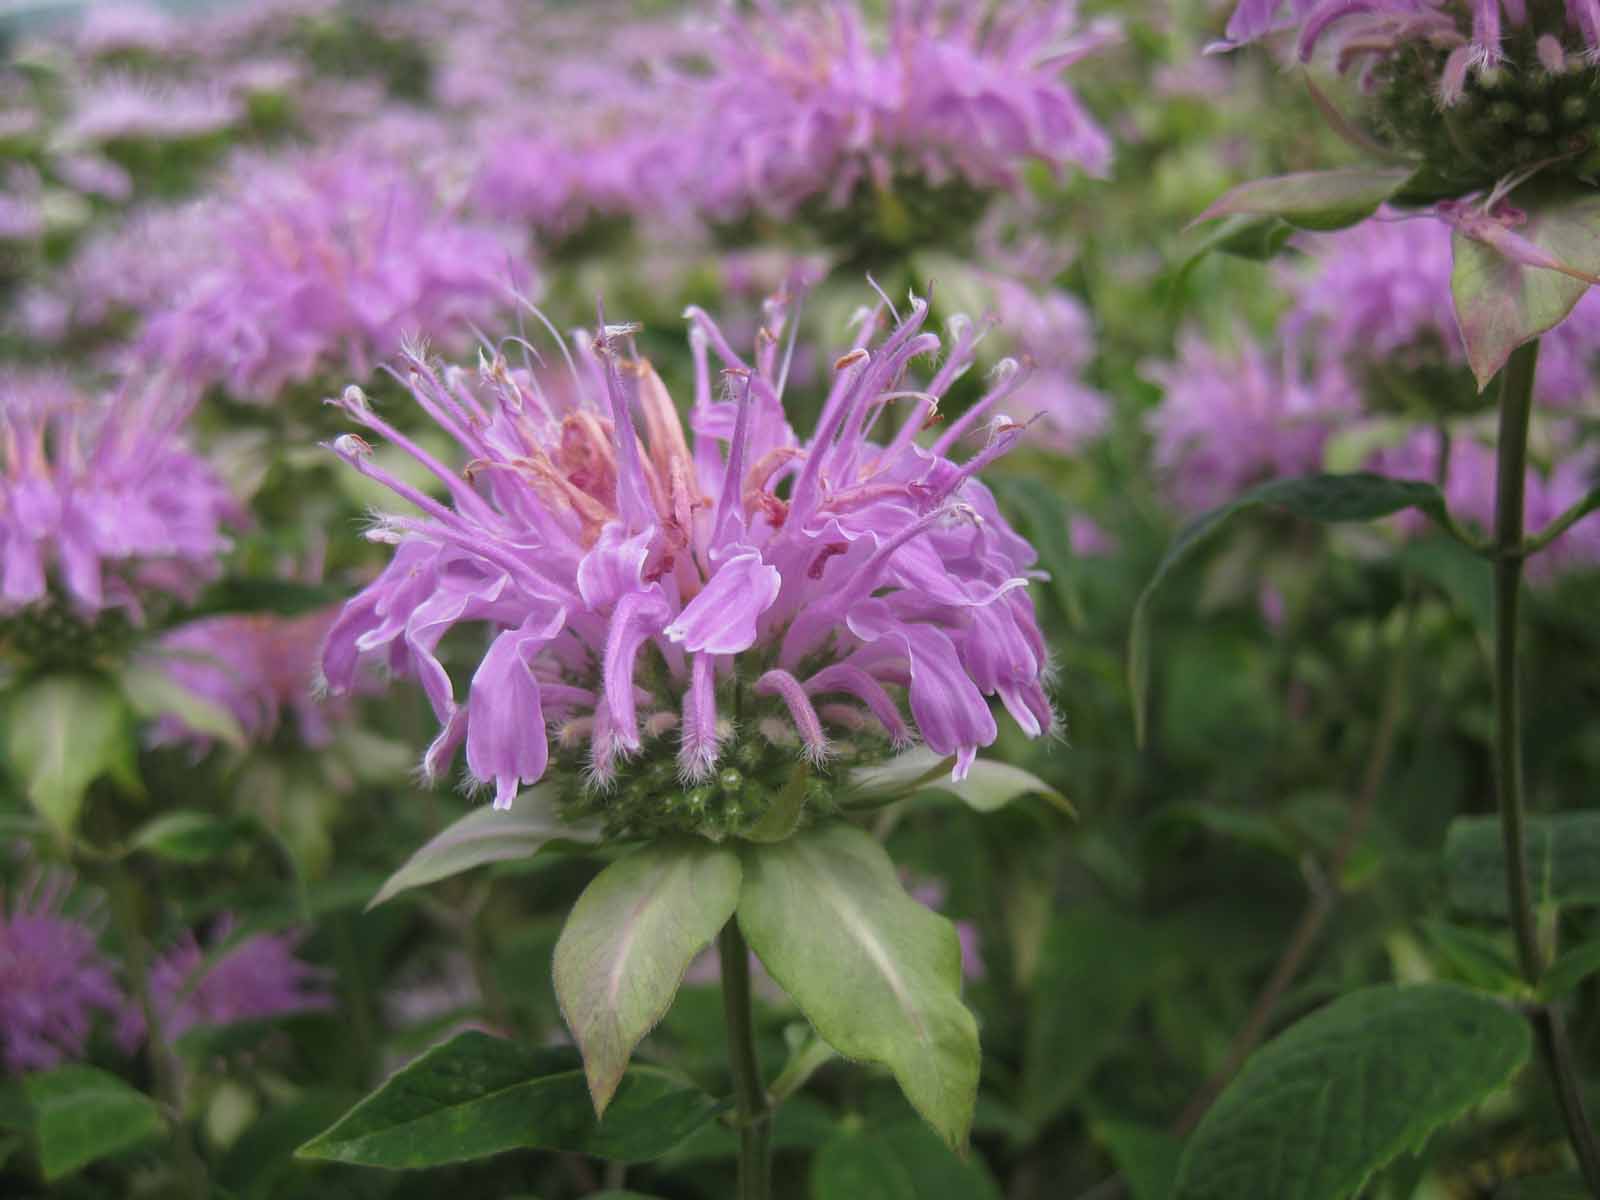
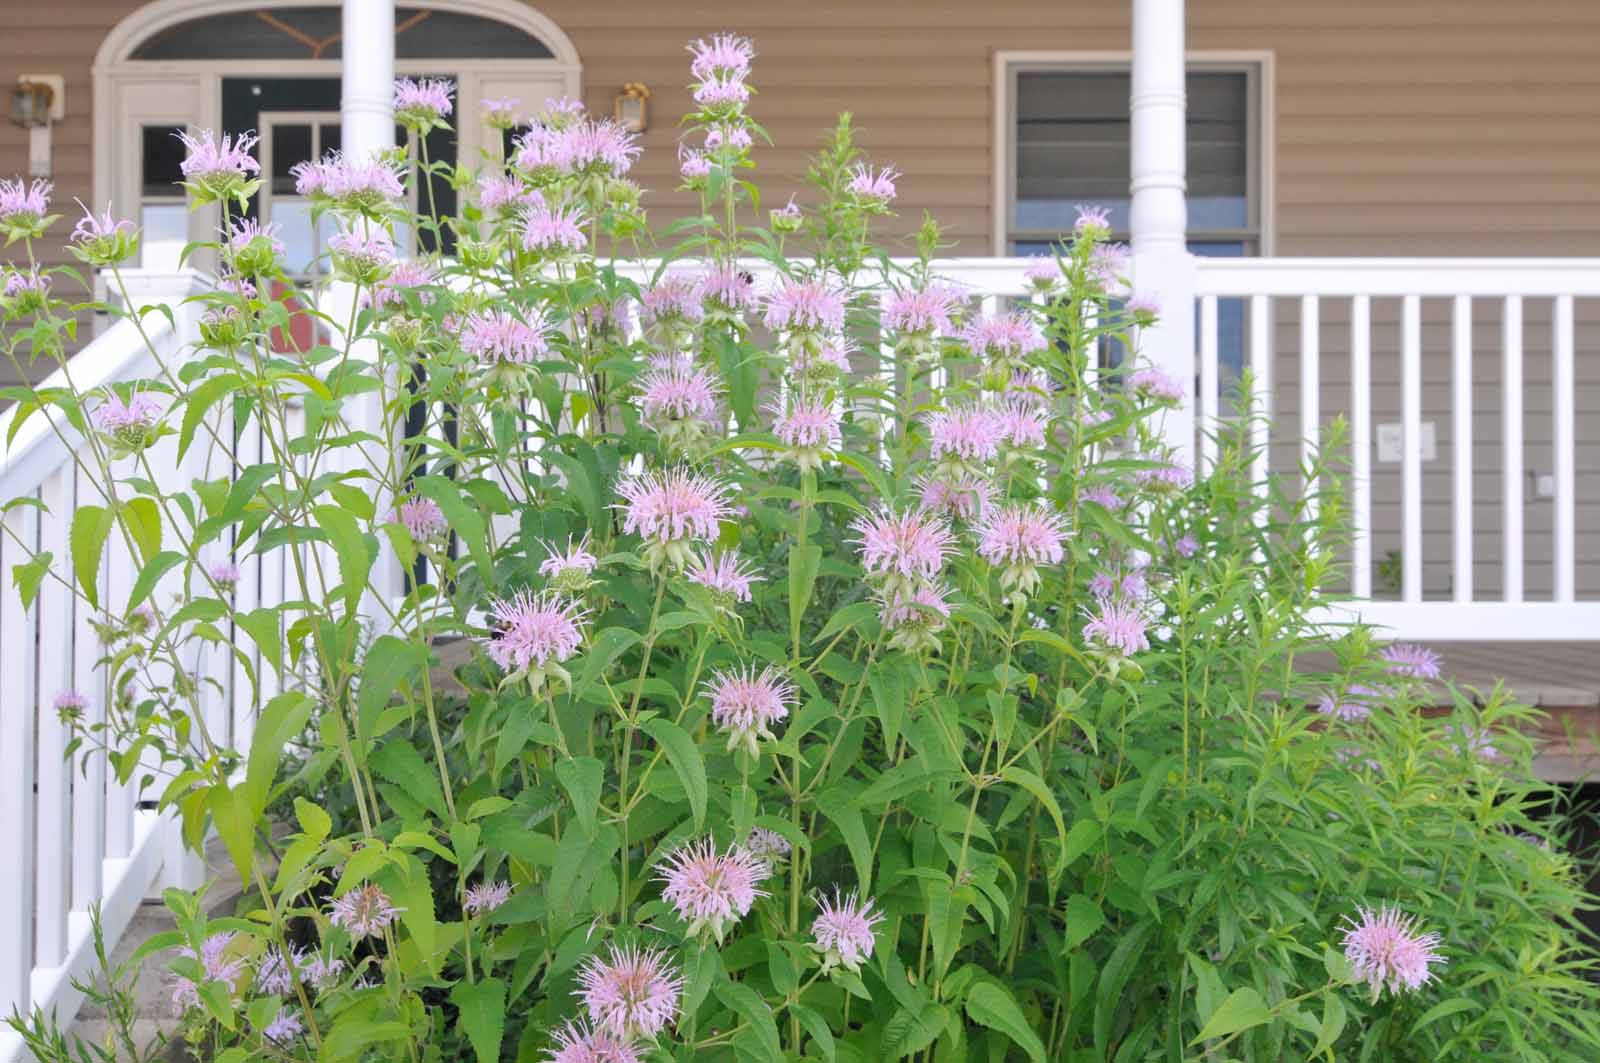
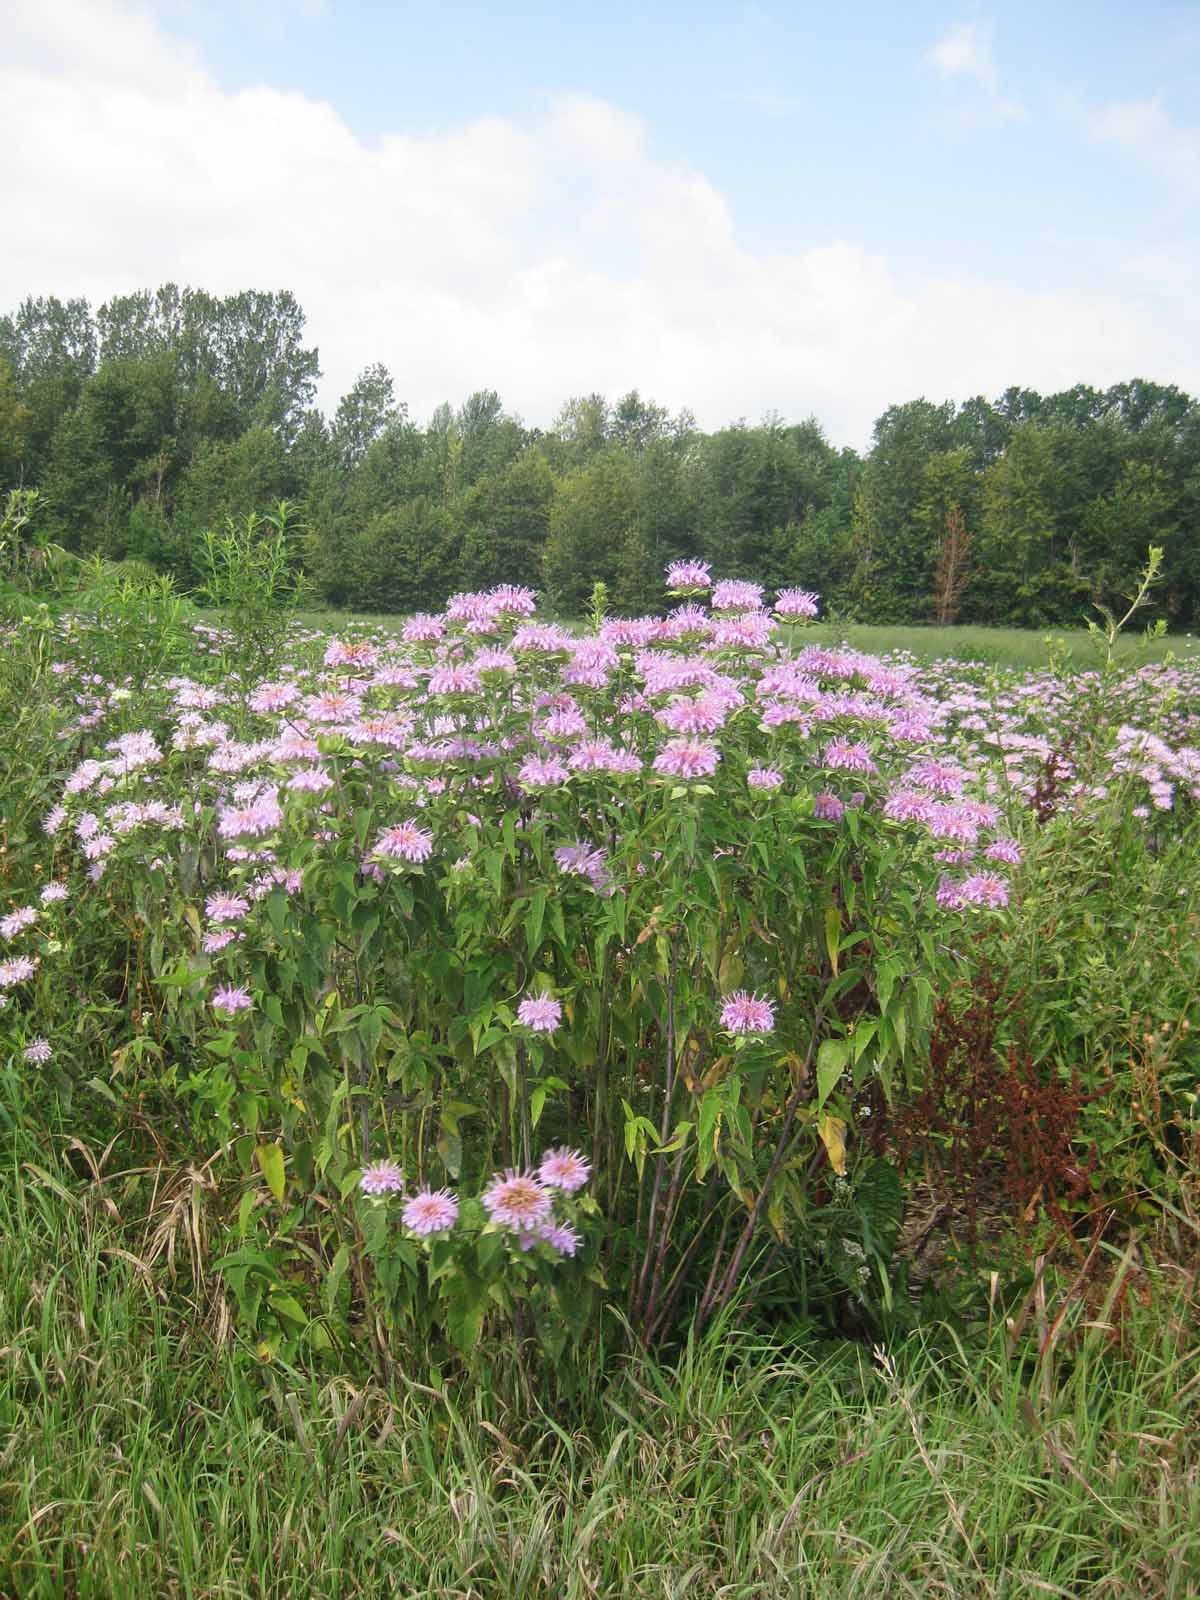
Wild Bergamot (Monarda fistulosa)
- Perennial
- 4 feet high
- Attracts butterflies bees and hummingbirds
- Blooms June–September
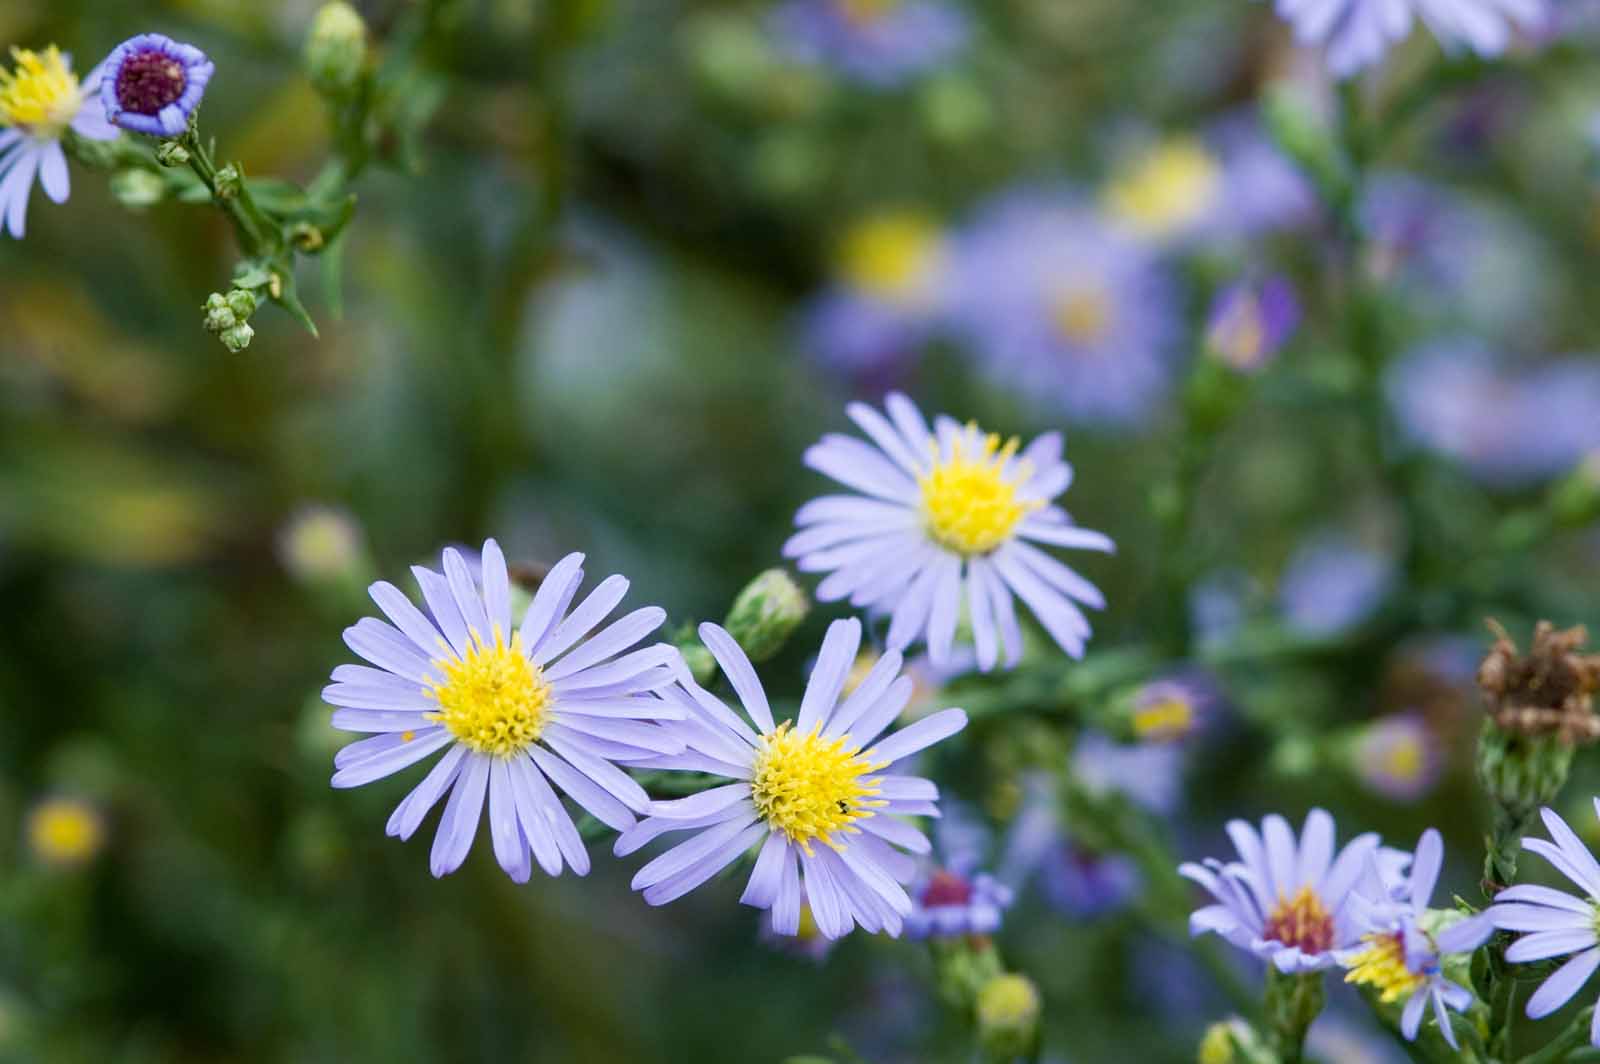
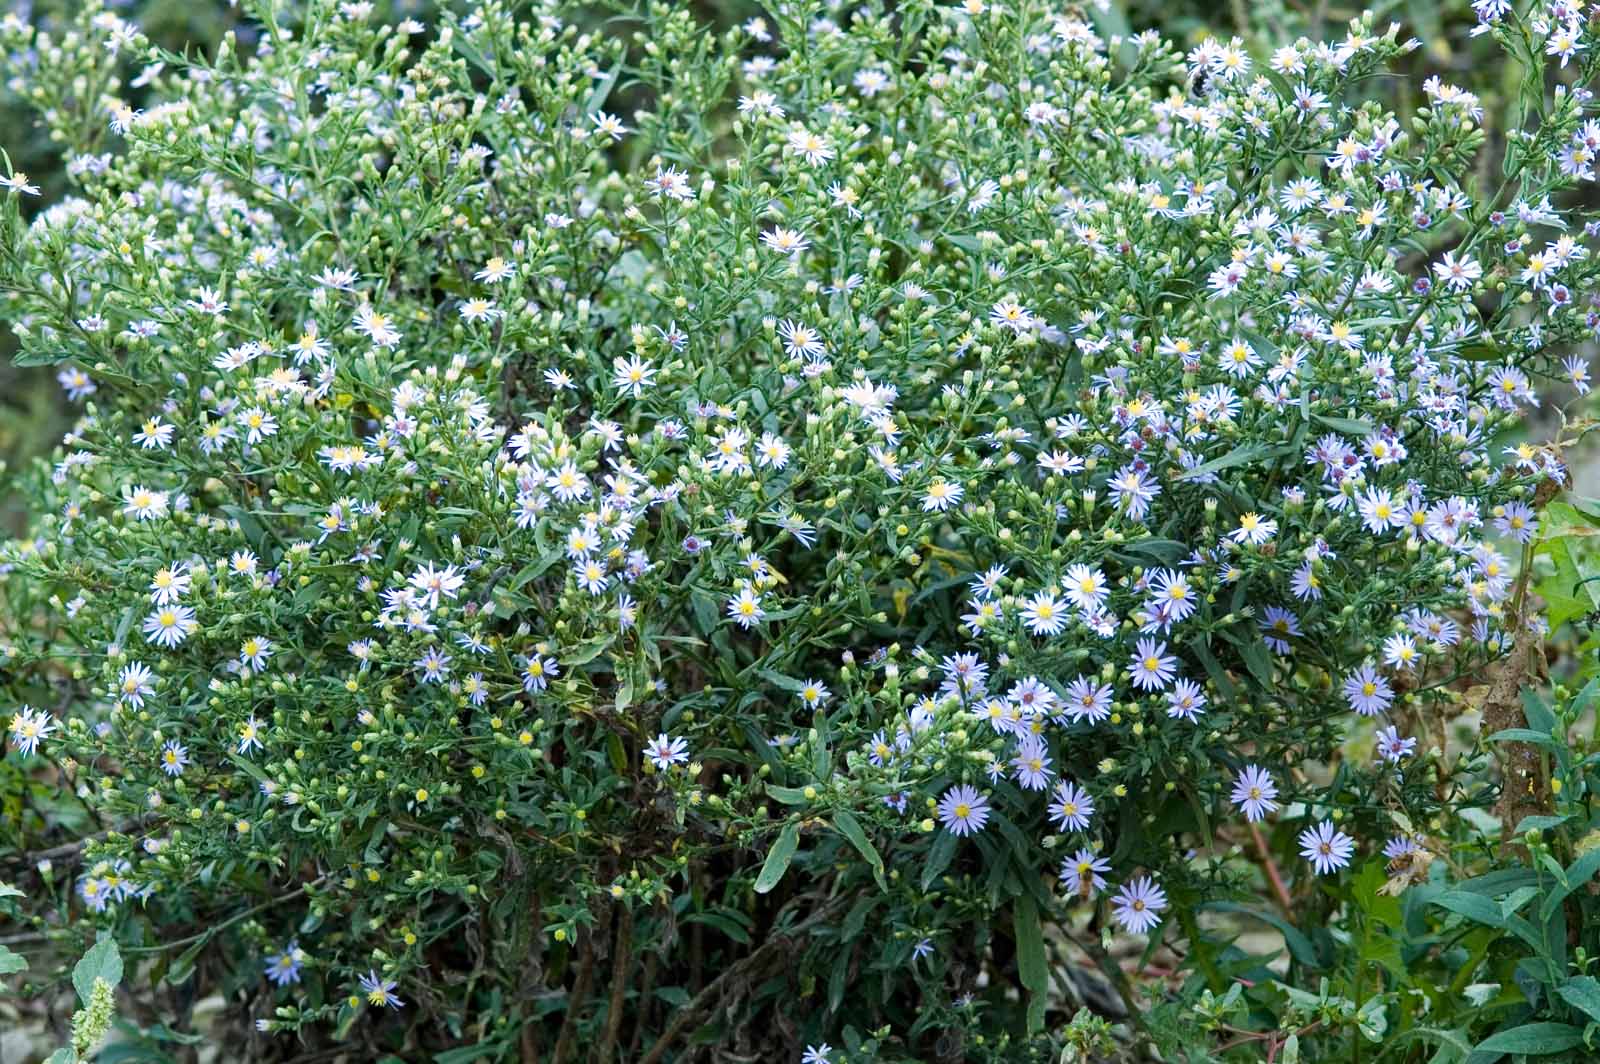
Smooth Blue Aster (Symphyotrichum laeve)
- Perennial
- 3.5 feet high
- Host plant for pearl crescent butterfly
- Blooms August–October
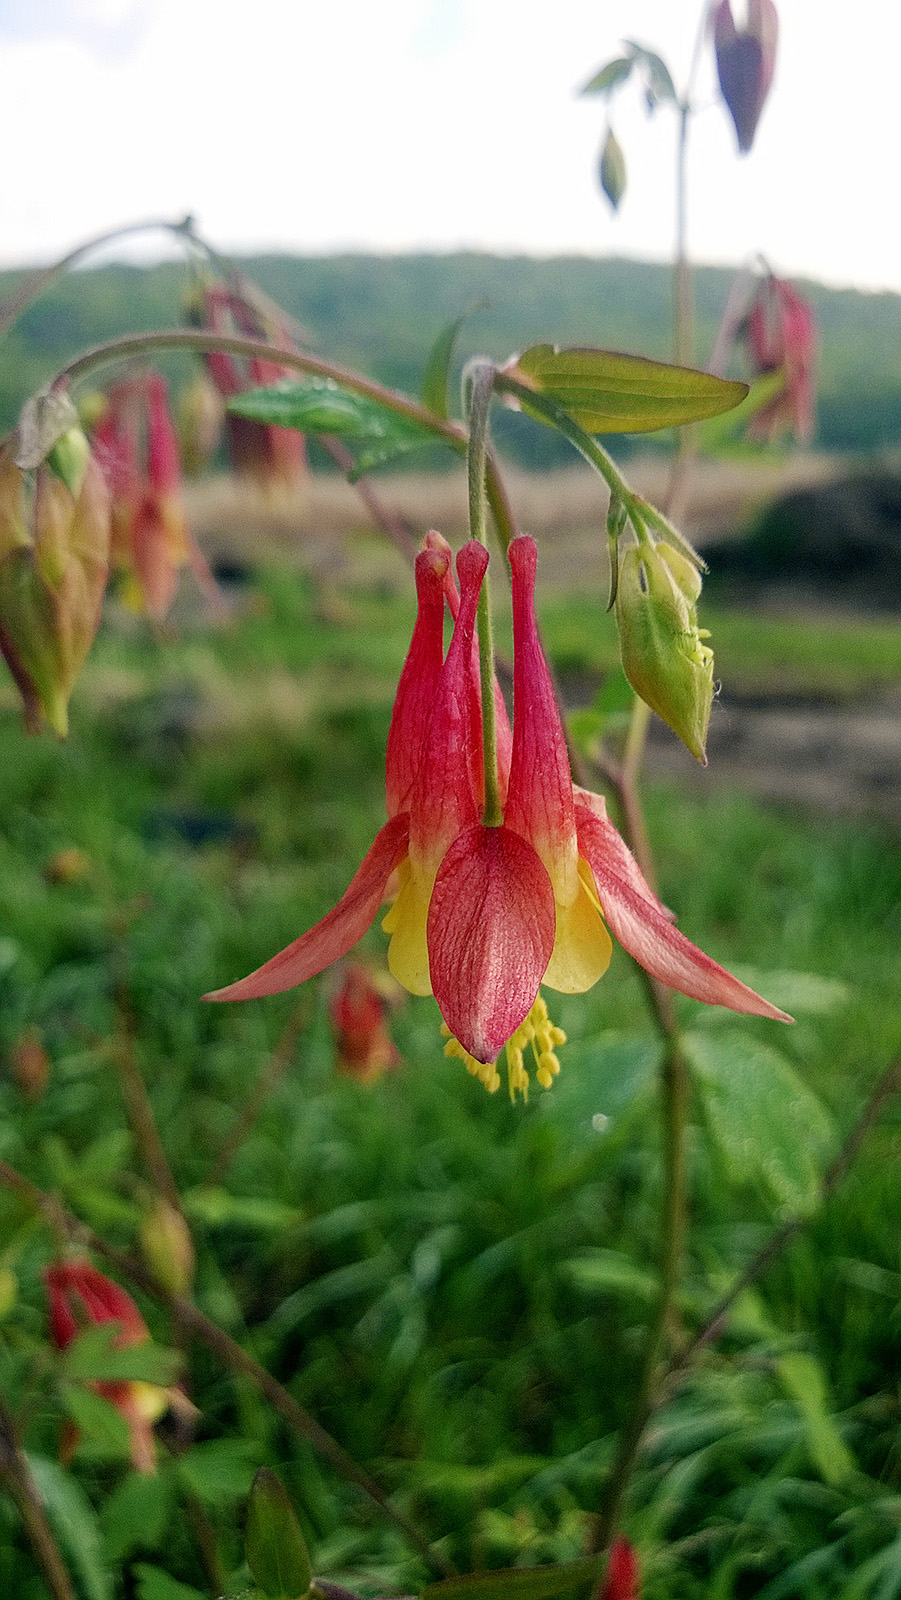
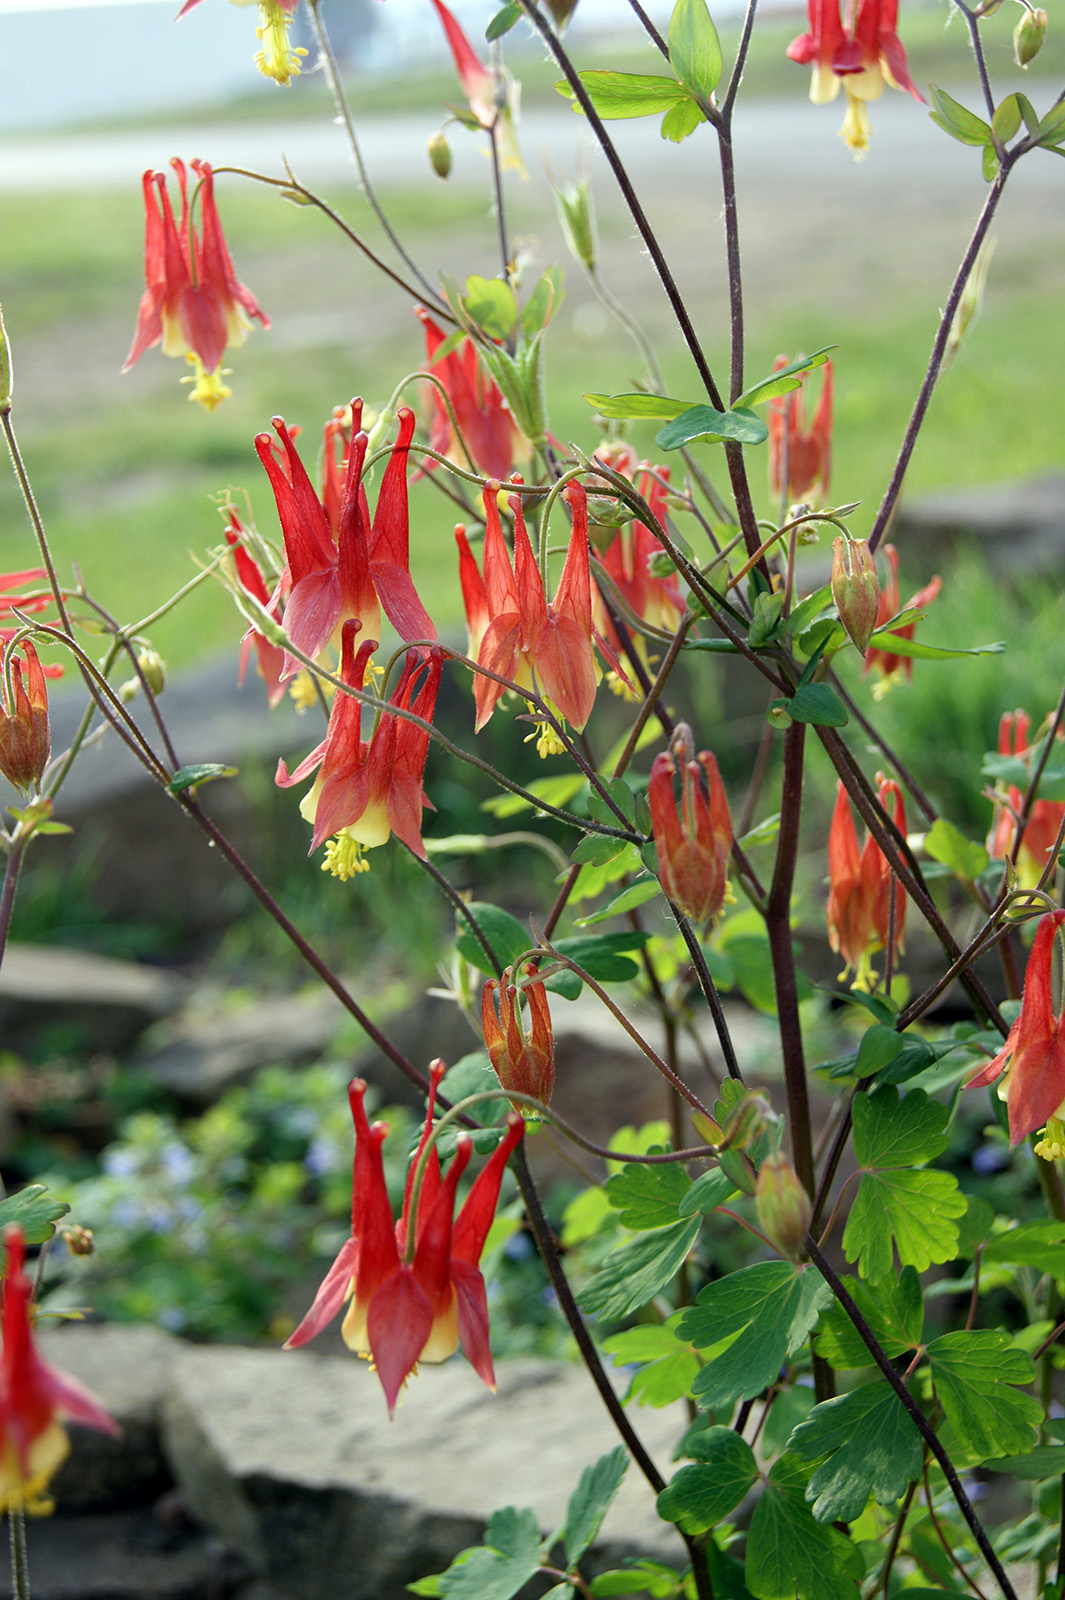
Eastern Columbine (Aquilegia canadensis)
- Perennial and readily self-seeds
- Up to 3 feet high
- One of the earliest-blooming wildflowers
- Nectar source for hummingbirds
- Withstands shade and part shade

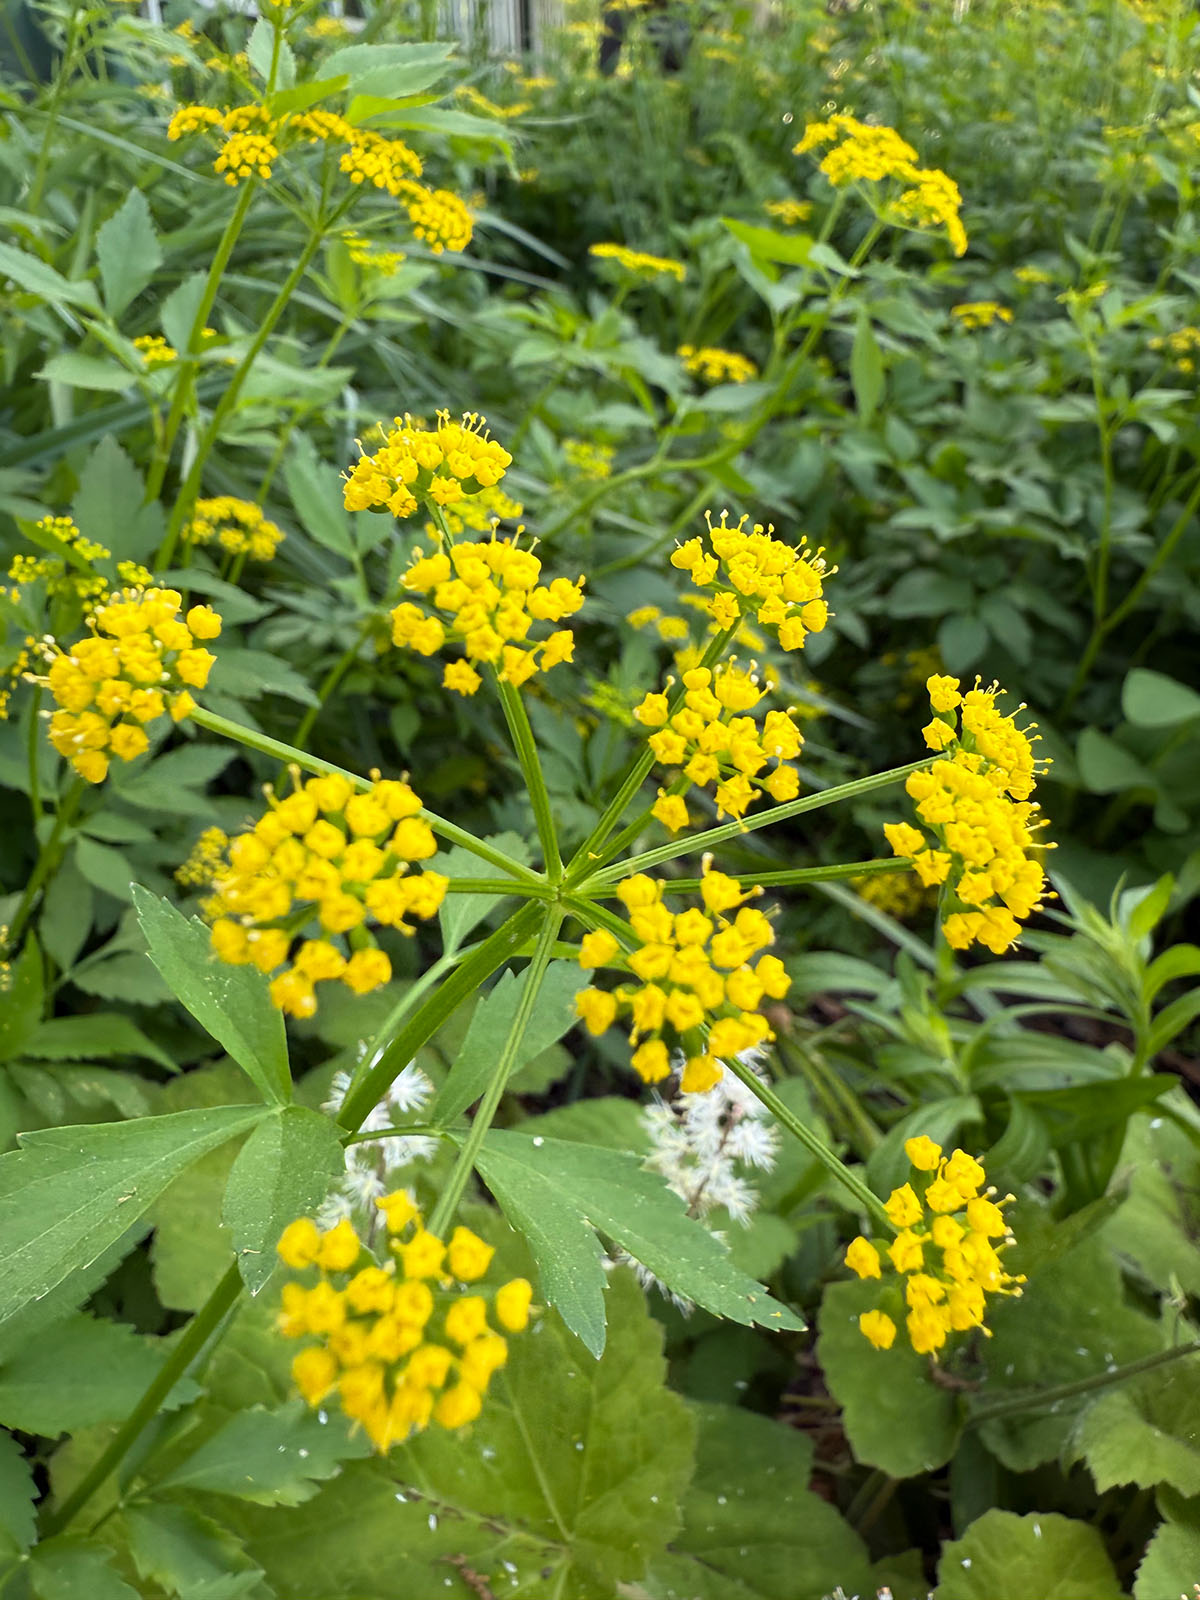
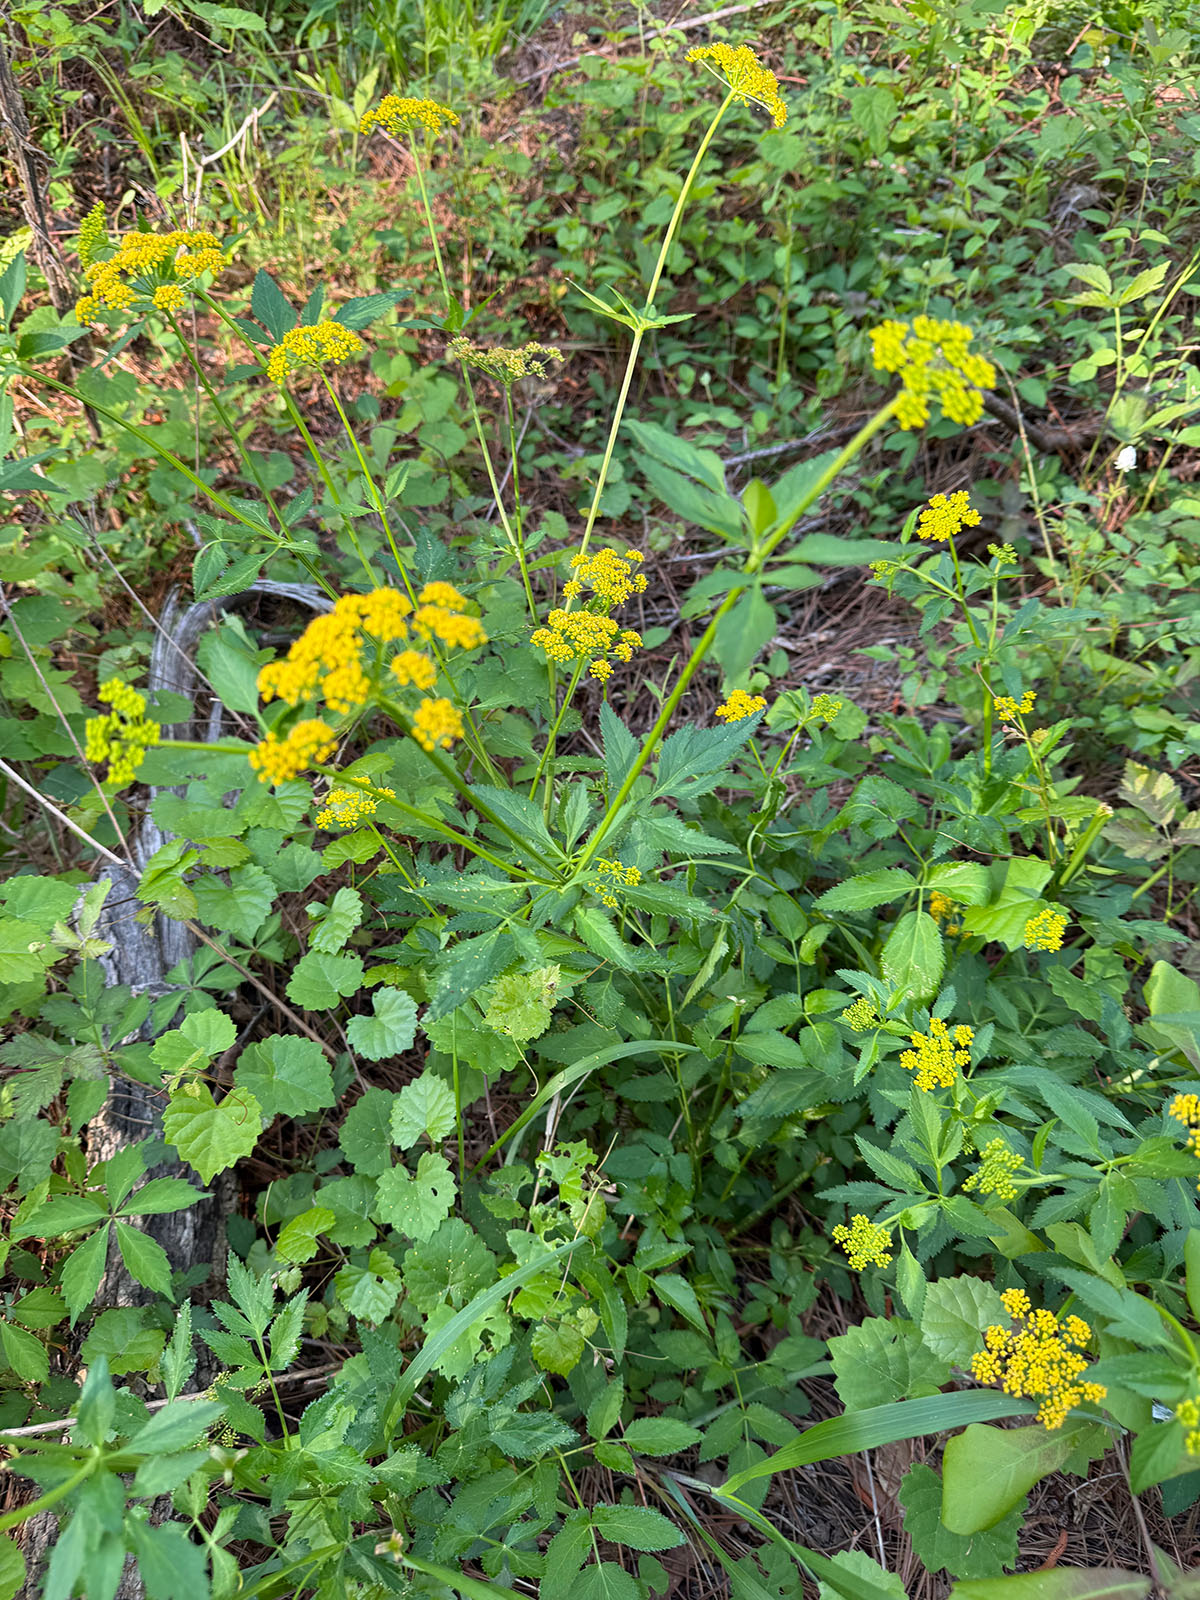
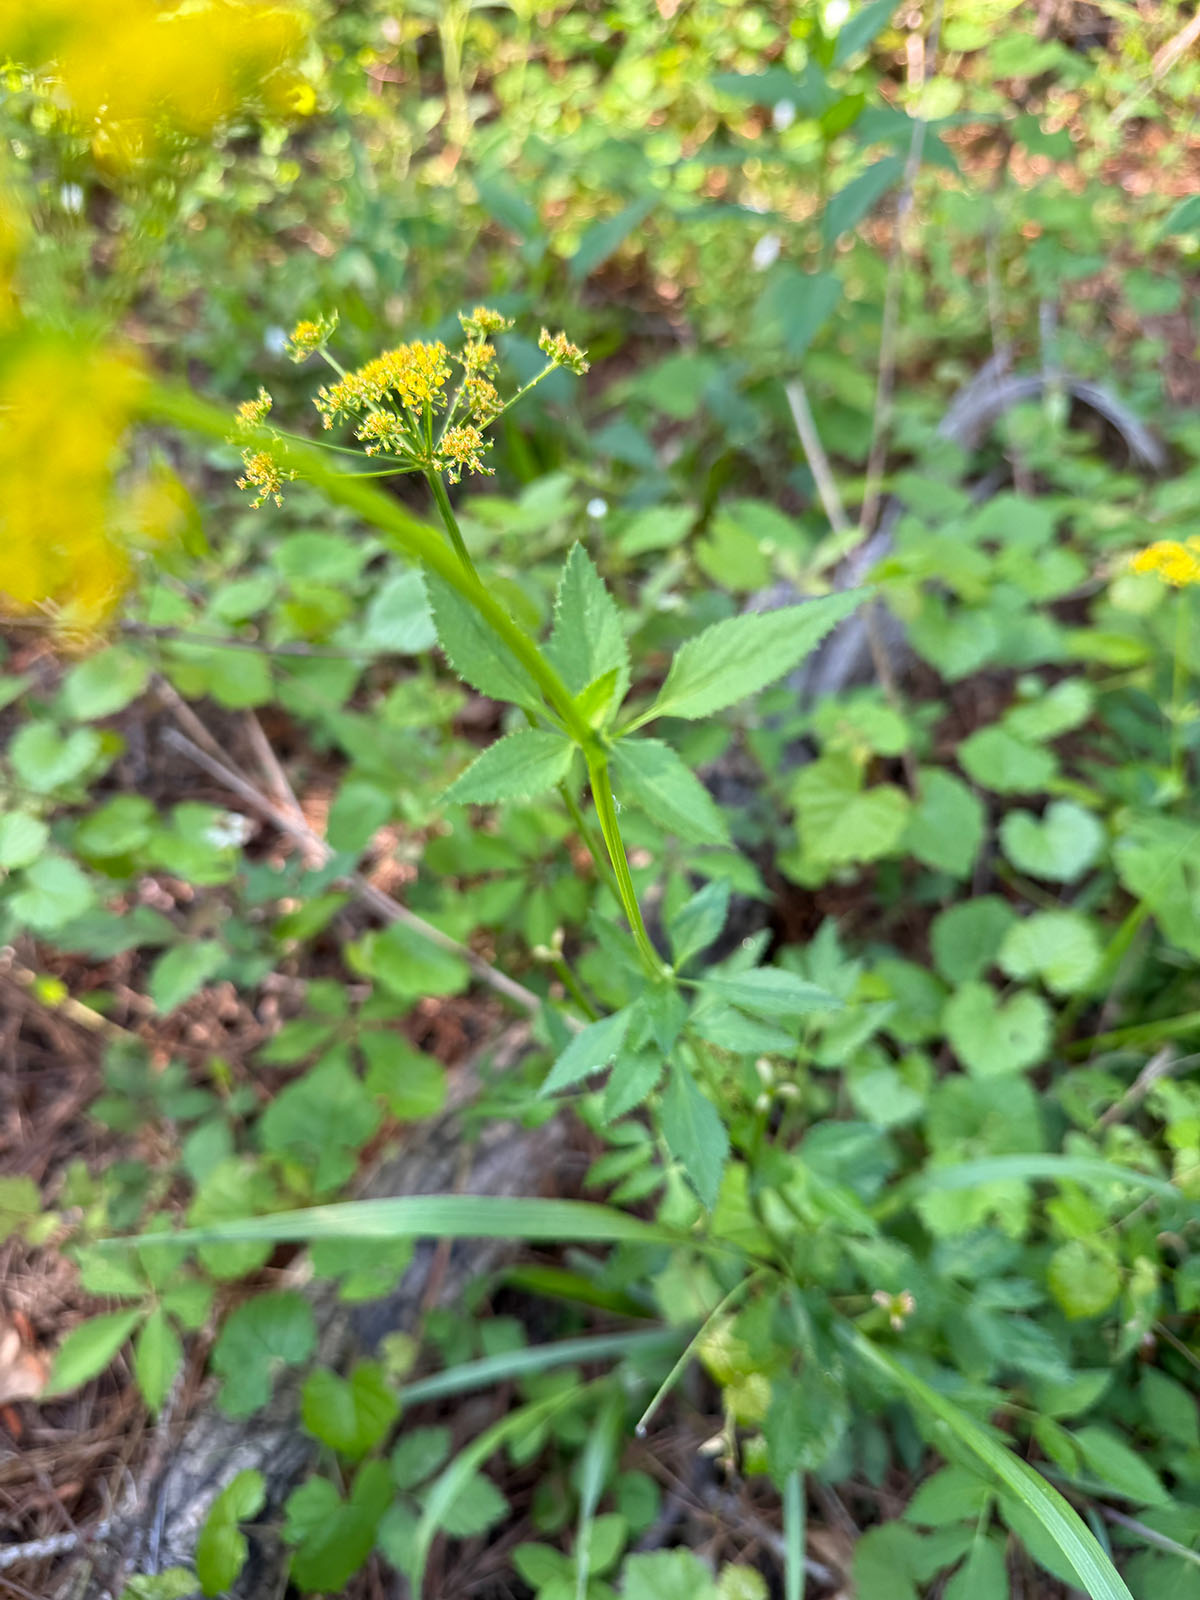
Golden Alexanders (Zizia aurea)
- Perennial
- 3 feet high
- Early spring bloomer that may extend into summer
- Host plant for black swallowtail caterpillars
- Full sun in moist soils, part shade in drier areas
Where to Plant
Most of these plants will do best in full sun, although some can withstand partial shade and shade. Once established they will be drought tolerant.
Bloom Time
This mix will bloom from spring through fall once established. Each packet will cover a 50 square foot patch
Preparation
The planting site must be cleared to bare soil prior to planting.
Sod Removal
If converting a turf lawn area, you can cut and remove sod. Sod can get heavy and you may still need to with undesirable seeds germinating once the soil is uncovered.
Smothering
Mow the area very closely and rake off any excessive plant material (a light layer of clippings is OK). Cover the area with heavy black plastic (4–6 mil) or heavy cardboard. If using more than one piece be sure to overlap the edges. Either bury the outside edges or weigh down with rocks, bricks or anything else handy. The goal is to prevent any sunlight from reaching the plants underneath.
Leave in place for several months and uncover just prior to planting.
Solarization
Solarization uses clear plastic (4–6 mil) to trap heat in the soil. This effectively kills any remaining vegetation as well as the seeds of undesirable plants. This can be used to kill existing vegetation or to eliminate weed seeds from existing bare soil areas.
Use heavy duty clear UV stabilized plastic and ensure edges or buried and any seams sealed to trap heat.
Leave in place for the hot summer months and uncover just prior to planting.
Herbicide
Herbicides can be an effective method of removing existing vegetation from the planting area. Consult with your local Cooperative extension agent when selecting an herbicide and strictly adhere to all label and safety precautions. As undesirable seeds germinate follow up applications may be needed.
Once existing vegetation has been removed, rake any debris off the site but do NOT till the soil. This only encourages undesirable plant seed to germinate.
Do not till the soil after preparing the seed bed — this will only encourage more weed growth.
Planting
Fall is an ideal time to plant your native seed. Early spring can also be effective. Late spring or summer plantings are less successful as the tender germinating plants are exposed to heat and drought.
- To help ensure even spreading of your seed add sand, vermiculite or sawdust to your seed. This adds bulk and can help you seed where you’ve scattered seed.
- Add your seed to enough moist (not wet) of your carrier to make it easy to get full coverage. Ensure the carrier is moist (not wet) as this will help the small seed stick to the carrier. Mix the seed well.
- Spread evenly across a weed-free and even planting bed. To help be sure you have even coverage, spread half of the seed across the entire bed and then add the second half at 90 degrees.
- Gently rake your seed into the soil. The goal is to barely cover the seed (no more then 1/8” to ¼” deep). A metal leaf rake turned upside down works great for this!
- Lightly roll or tamp the soil to be sure the seeds are in good contact with your soil.
- Cover the planting area with a light mulch of weed-free straw.
- No need to water if planting in early spring or in the fall.
- Do not fertilize. This will encourage undesirable weeds.
- The use of a cover or nurse crop can be helpful in reducing weed pressure and addressing erosion concerns.
- For fall planting use cereal rye (Secale cereale) (NOT turf type or annual rye grass) or winter wheat (Triticum aestivum)
- For spring planting use spring oats (Avena sativa). You can add cosmos (Cosmos bipinattus) annual quick growing flowers that can add color and pollinator interest to your first year.
- Spread these seeds after you’ve ensured good coverage of your pollinator habitat mix (but before your straw mulch).
- These seeds are available through local feed and seed and farm stores.
- These annual plants are not native but will not persist for long in your patch (you may see a few “volunteers” for the first couple of seasons).
Be patient. It will take three years for your garden patch to really take off.
Annual Maintenance of Your Pollinator Patch
- Leave spent blooms in place through the winter. They will offer seeds for birds and cover for native insects.
- Once your native plants are established, monitor for and hand remove undesirable weeds. This will also create small patches of bare ground that are desirable for native pollinators and will encourage your wildflowers to self sow.
- Avoid the use of pesticides.
